EVGA X17 8000Hz Gaming Mouse Review
EVGA Unleash
EVGA gaming mice come complete with a full software package that allows complete control over the mouse. Customize the color, button settings, DPI and profiles. The EVGA Unleash software also has an OSD (On Screen Display) that makes it easy to see what profile or DPI setting you are using!
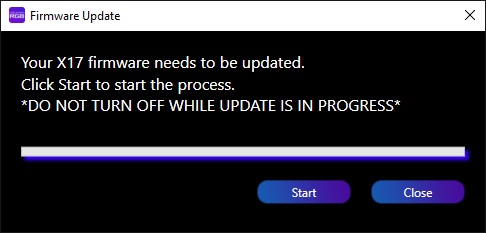
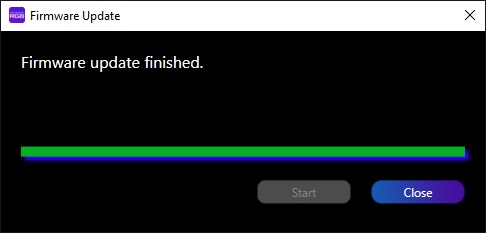
Upon starting the Unleash software for the first time it noticed that there was newer firmware available for the X17. I clicked start to start the install of the new firmware and the process only took a few minutes to complete. Once completed it let me know that the firmware was now up-to-date and once I clicked close on the popup the Unleash software loaded.
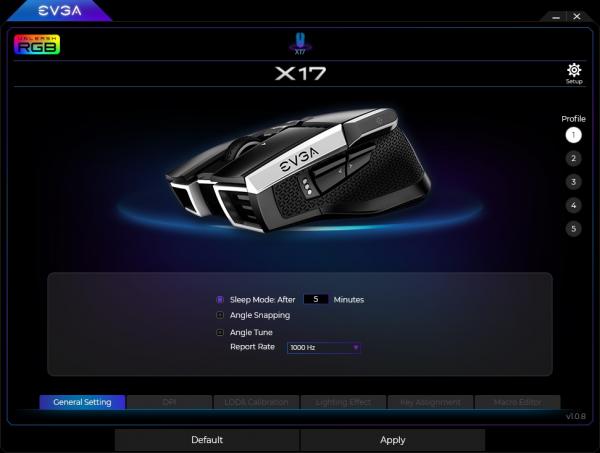
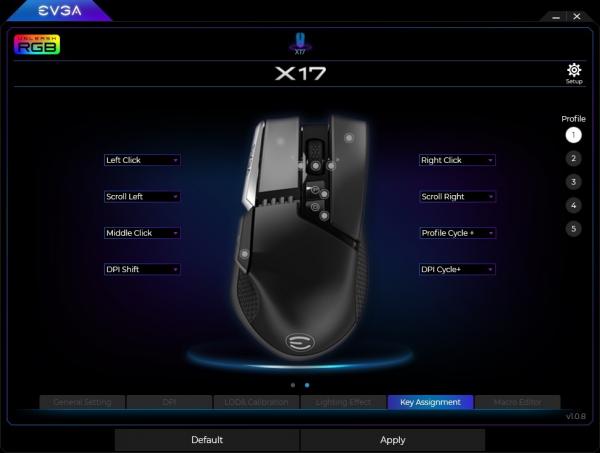
With the software now running it had no problems detecting the X17 and displayed an image of the mouse in the center of the screen. To the right on the mouse, you can find buttons for each of the five profiles with the first one being selected. On the lower part of the screen are the set menus for the X17, they include: General Settings, DPI, LOD & Calibration, Lighting Effect, Key Assignment, and Macro Editor.
Looking at the General Settings menu allows you to adjust settings such as when to enter sleep mode, angle snapping, angle tune, and report rate.
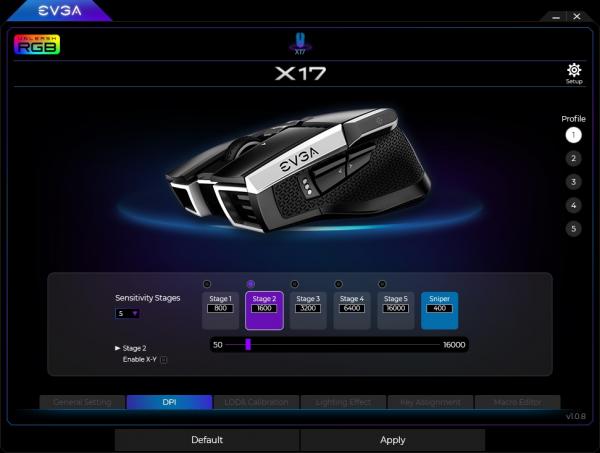
Moving to the DPI menu you can set the Sensitivity Stages from 1 to 5, adjust each of the five DPI profiles, the DPI of the sniper button, and toggle X-Y. If you enable X-Y this allows you to set individual DPI for the X and Y-axis.
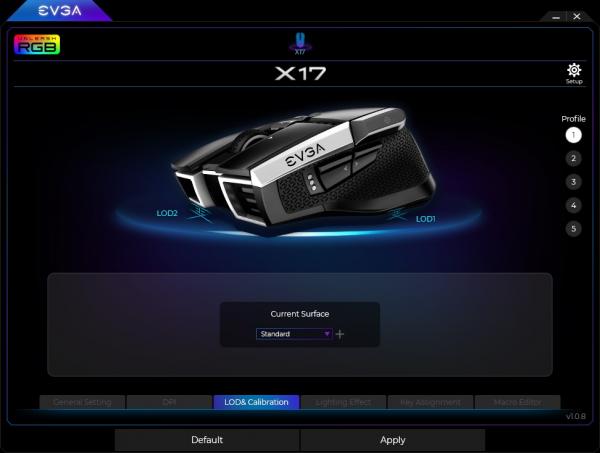
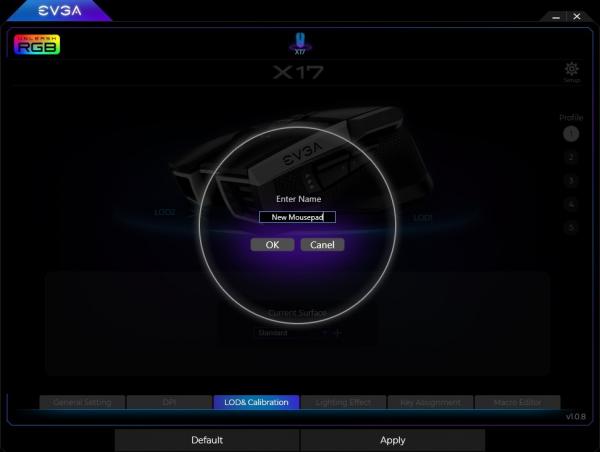
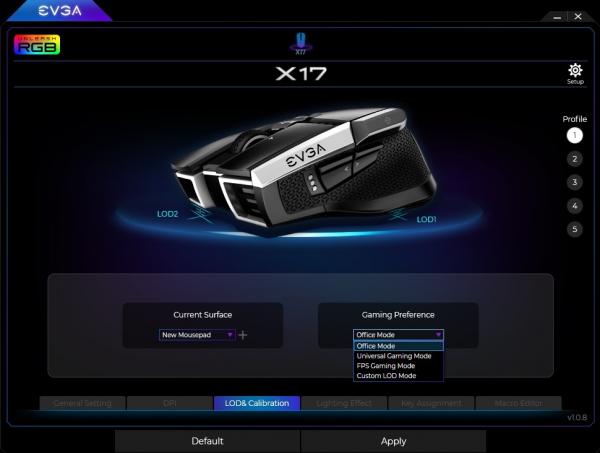
The next screen “LOD & Calibration” allows you to calibrate the mouse to the mouse pad you are using. By default, the “Standard” profile is used but you can easily click the “+” button to create a custom profile.
Once you click the “+ button it will prompt you to name your configuration and click “OK” to start the calibration.
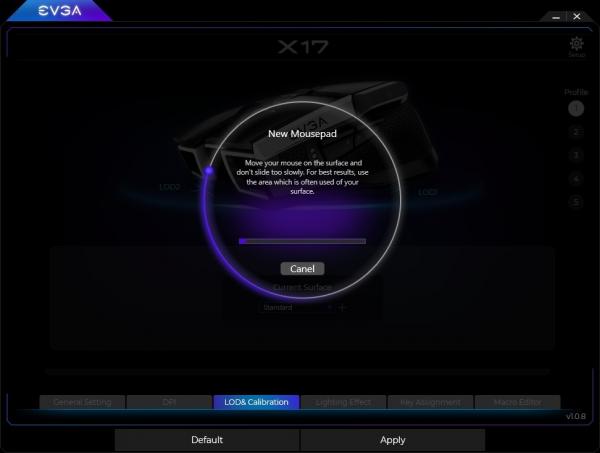
Once the calibration has started you just slowly drag the mouse across the most used part of your surface until the calibration is complete.
Once the calibration has been completed you will be presented with a Game Preference Mode dropdown to further tweak the X17.
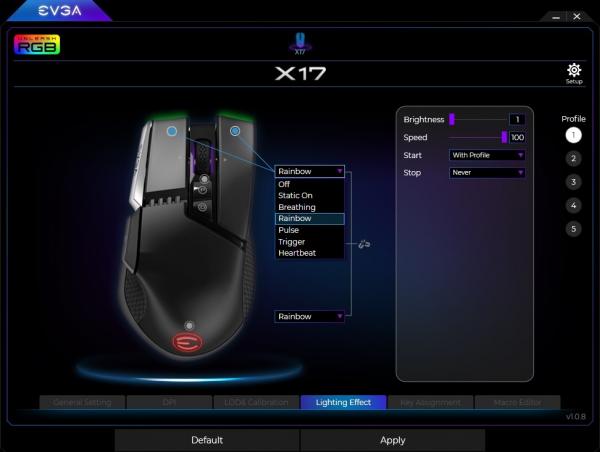
Moving to the new menu item “Lighting Effect” is where you can configure the visuals of the X17. There is a total of 6 lighting effects that can be applied to the 3 RGB zone of the X17. These settings can be applied to each zone separately or all three zones can be synced with the “chain link” button. Each of the 6 lighting effects has its own set of settings such as brightness, speed, color, start, and stop. The lighting effects you can apply to the X17 are as follows:
- Static On – Display a static color
- Breathing – Colors breath in and out
- Rainbow – Color blend/fade into each other giving a rainbow effect
- Pulse – Colors pulse on and off
- Trigger – Color is that starts/stops based on a trigger
- Heartbeat – LED blink in a heartbeat type pattern
The next menu “Key Assignment” also you to configure each button of the mouse if the default assignments are not to your liking or do custom actions such as Play/Stop media and assign macros.
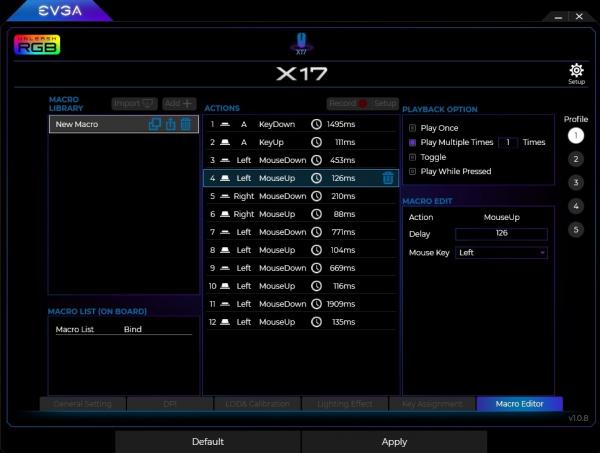
The final menu item “Macro Editor” allows you to create complex macros that you can assign to buttons using the “Key Assignment” menu.
Subjective Testing:
Now that the X17 has been configured to my liking it was time to put it through the paces with some FPS goodness. The game a choose is one of my favorite competitive FPS’ CS: GO which I played a total of 8 hours with the X17.
From the get-go, the X17 felt extremely comfortable in the hand thanks to its great contours and rubberized grips on the sides. I go with the palm grip when playing games but if you are a claw/fingertip player this mouse will still feel great. One feature of the X17 that stood out was the no friction feet on the bottom of the mouse. I was able to easily glad the mouse quickly across the surface to make those ever so fast flick headshots with the AWP. Another surprise with the X17 was the amount of force and tactile feedback you get from the mouse wheel. Usually, when switching weapons, I’ll exclusively use the keyboard because it was easy to scroll past the weapon you’re looking for. With the X17 this wasn’t a problem because it required more force for each “click” with tactile feedback. Thanks to this it was convenient to use the mouse wheel when switching from pistol to knife instead of trying to hit the keys with the keyboard.
Overall, the X17 preformed great in my CS: GO sessions as it was extremely precise, comfortable, and thanks to it 8K HZ report rate it had pretty much instantaneous feedback. The comfort of the X17 alone will make it my new go-to mouse even for non-gaming activities.
