CasesReviews

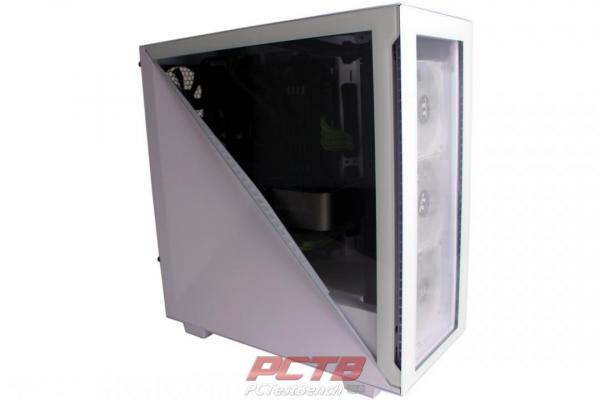
Thermaltake Divider 300 TG Snow ARGB Mid Tower Review

Showcase Your System in a Particular Way

System Build


Internals will be as follows:

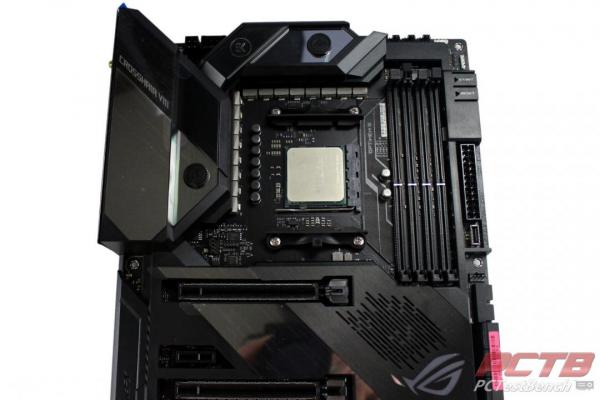
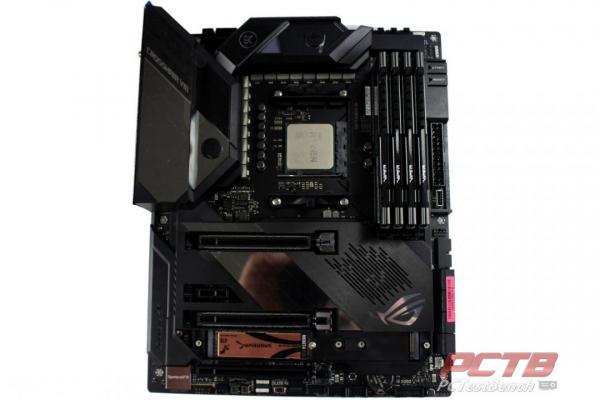
  • Asus ROG Crosshair VIII Formula
  • AMD Ryzen 9 5950X
  • 128GB of Viper Steel 3600MHz
  • Nvidia RTX 3090 FE
  • Sabernt Rocket 4 Plus 4TB
  • EVGA Supernova 850 T2 Power Supply.

Thermaltake Divider 300 TG Snow ARGB Mid Tower Review 1 ARGB, ATX, Case, Divider 300, ITX, Micro-ATX, Mid-Tower, rgb, Snow, Thermaltake, Vertical GPU, White

Since Thermaltake’s Divider 300 comes set up for ATX boards out of the box, we’ll start our build with prepping hardware before install.

Thermaltake Divider 300 TG Snow ARGB Mid Tower Review 2 ARGB, ATX, Case, Divider 300, ITX, Micro-ATX, Mid-Tower, rgb, Snow, Thermaltake, Vertical GPU, White

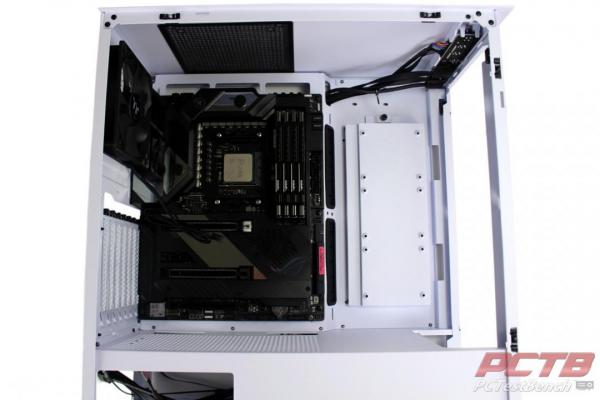
We’ll start with installing our CPU, Ram, and M.2 SSD before putting the board in the case.

Thermaltake Divider 300 TG Snow ARGB Mid Tower Review 3 ARGB, ATX, Case, Divider 300, ITX, Micro-ATX, Mid-Tower, rgb, Snow, Thermaltake, Vertical GPU, White

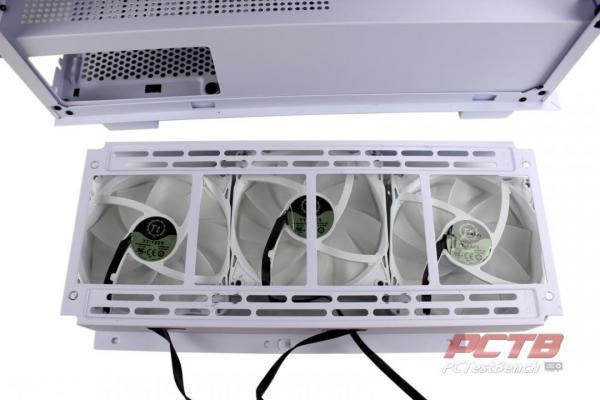
We’ll take the front cooling bracket out while we are here and then installing the motherboard. Our board has a pre-installed rear I/O cover so we didn’t have to do anything, but don’t forget to put your shield in first if applicable.

Thermaltake Divider 300 TG Snow ARGB Mid Tower Review 4 ARGB, ATX, Case, Divider 300, ITX, Micro-ATX, Mid-Tower, rgb, Snow, Thermaltake, Vertical GPU, White

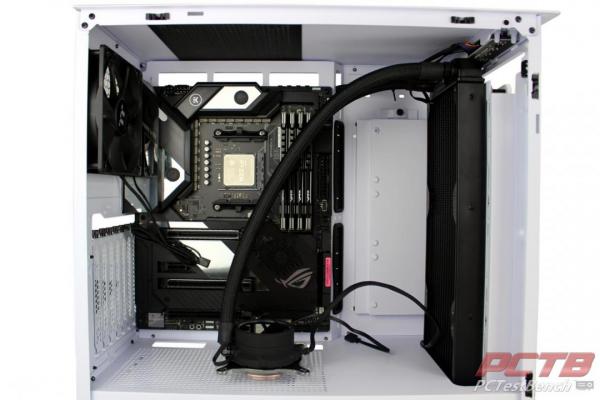
We’ll be using an AiO cooler so we’ll remove the fan mounting screws from the 3 fans and use the longer screws included with our cooler to sandwich everything together.

Thermaltake Divider 300 TG Snow ARGB Mid Tower Review 5 ARGB, ATX, Case, Divider 300, ITX, Micro-ATX, Mid-Tower, rgb, Snow, Thermaltake, Vertical GPU, White

While the Divider 300 cant handle thick radiators, but slim 360mm radiators aren’t a problem.

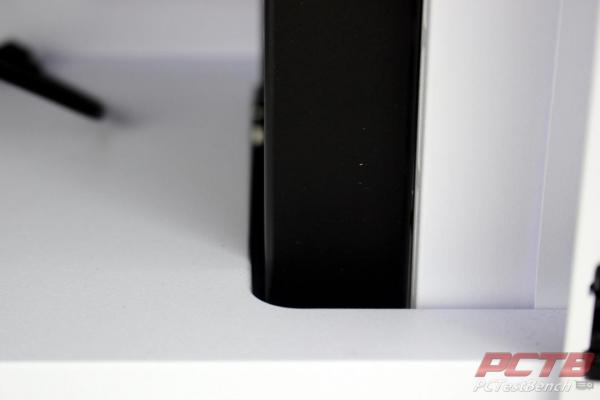
Thermaltake Divider 300 TG Snow ARGB Mid Tower Review 6 ARGB, ATX, Case, Divider 300, ITX, Micro-ATX, Mid-Tower, rgb, Snow, Thermaltake, Vertical GPU, White

You get a maximum of about 32mm for radiator thickness with the fans on the outside.

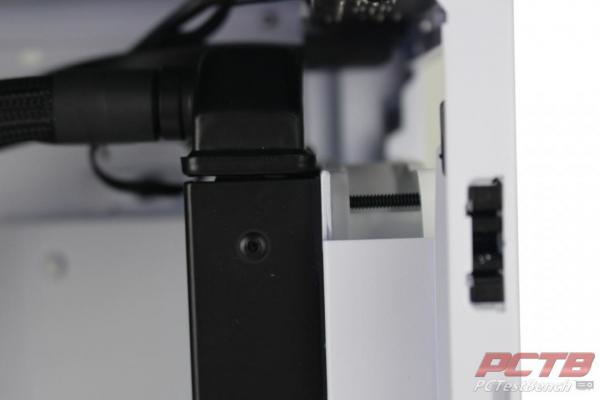
Thermaltake Divider 300 TG Snow ARGB Mid Tower Review 7 ARGB, ATX, Case, Divider 300, ITX, Micro-ATX, Mid-Tower, rgb, Snow, Thermaltake, Vertical GPU, White

There is plenty of height for a radiator without interfering with the top I/O.

Thermaltake Divider 300 TG Snow ARGB Mid Tower Review 8 ARGB, ATX, Case, Divider 300, ITX, Micro-ATX, Mid-Tower, rgb, Snow, Thermaltake, Vertical GPU, White

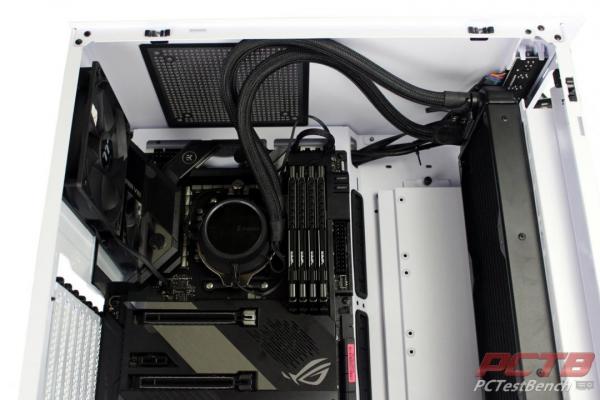
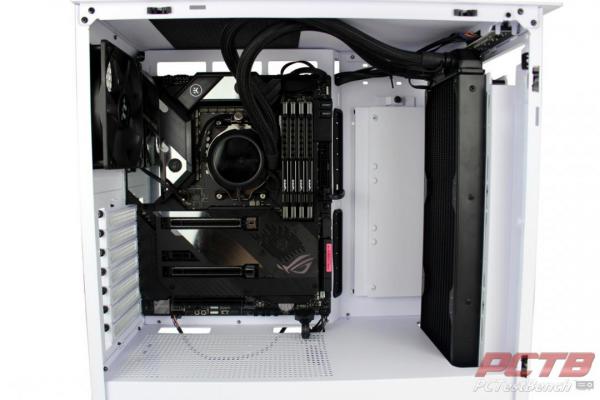
From here we’ll finish installing our cooler and AiO wiring.

Thermaltake Divider 300 TG Snow ARGB Mid Tower Review 9 ARGB, ATX, Case, Divider 300, ITX, Micro-ATX, Mid-Tower, rgb, Snow, Thermaltake, Vertical GPU, White

Be sure to go ahead and install your front panel cables here as well before we stick the GPU and power supply in.

Thermaltake Divider 300 TG Snow ARGB Mid Tower Review 10 ARGB, ATX, Case, Divider 300, ITX, Micro-ATX, Mid-Tower, rgb, Snow, Thermaltake, Vertical GPU, White

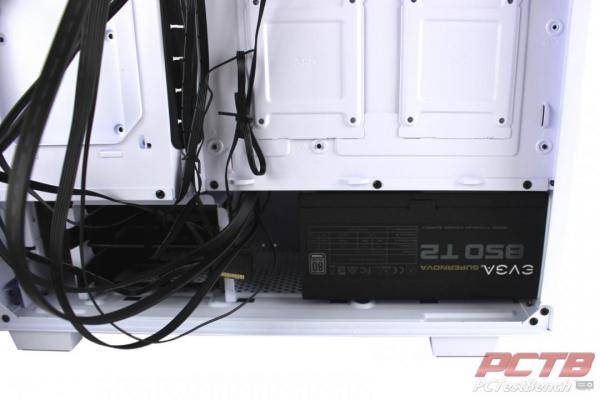
Our EVGA power supply doesn’t leave a ton of room for wiring with the 3.5” drive cage installed, so we’ll plug in our cables before we fully install it.

Thermaltake Divider 300 TG Snow ARGB Mid Tower Review 11 ARGB, ATX, Case, Divider 300, ITX, Micro-ATX, Mid-Tower, rgb, Snow, Thermaltake, Vertical GPU, White

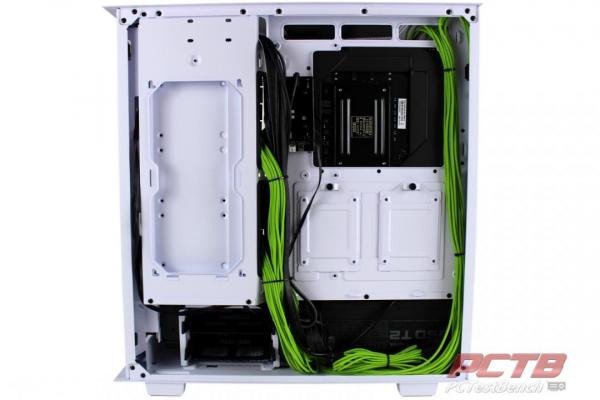
Since the case glass has a slight green tint, and we just happen to have a set of green cables for our power supply, let’s have a little color, shall we? Running the cables and keeping everything tidy with the included zip ties.

Thermaltake Divider 300 TG Snow ARGB Mid Tower Review 12 ARGB, ATX, Case, Divider 300, ITX, Micro-ATX, Mid-Tower, rgb, Snow, Thermaltake, Vertical GPU, White

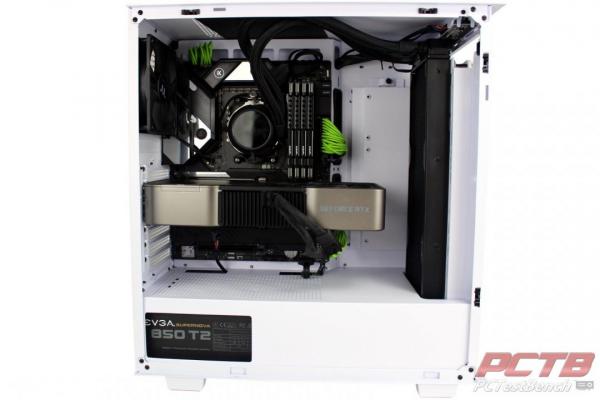
All that is left is to install our GPU, the massive Nvidia RTX 3090 Founder Edition. This card does best installed traditionally thanks to its cooler design so we rotate the rear I/O bracket back to normal.

Thermaltake Divider 300 TG Snow ARGB Mid Tower Review 13 ARGB, ATX, Case, Divider 300, ITX, Micro-ATX, Mid-Tower, rgb, Snow, Thermaltake, Vertical GPU, White

That’s pretty much it. Put the side panels back on and enjoy! This is probably one of the easiest cases to get a clean, elegant build we’ve check out in a while.
Previous page 1 2 3 4 5Next page

Related Articles

Back to top button