Elgato Cam Link 4K
Software and Setup
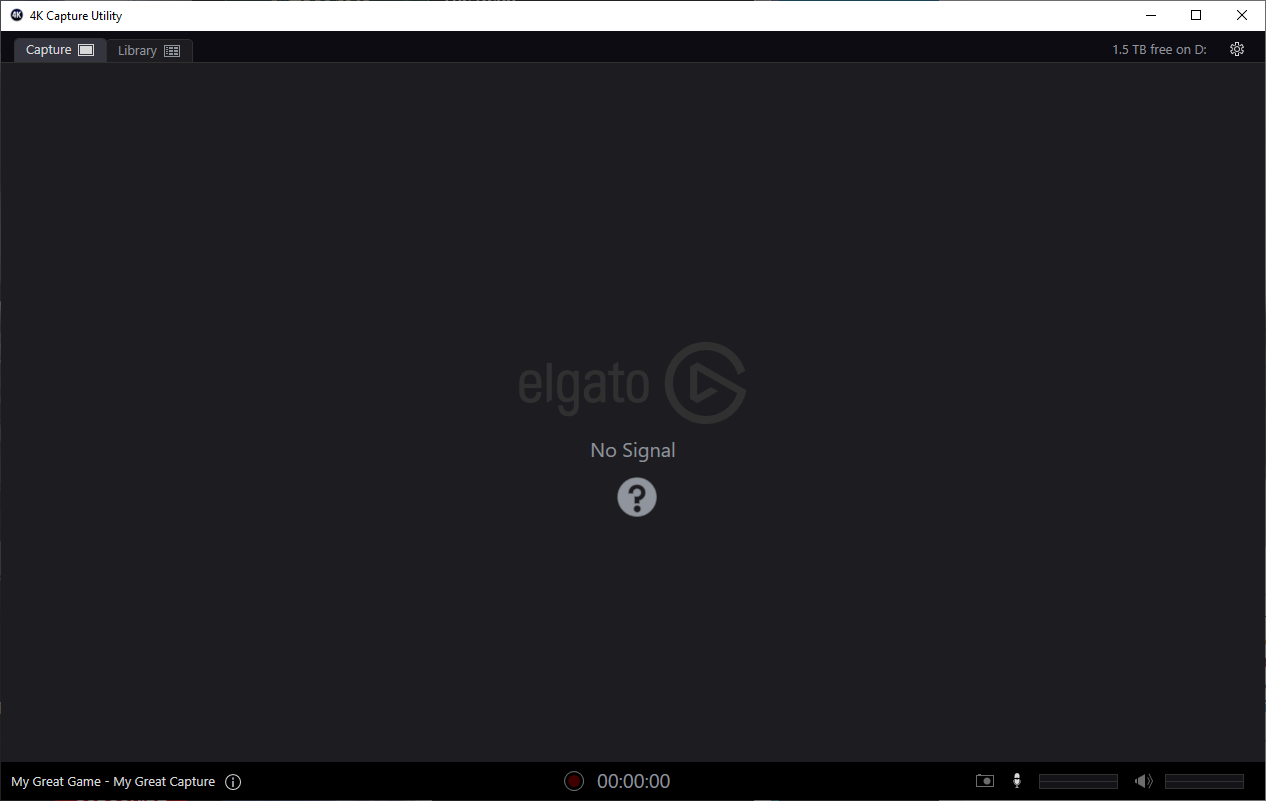
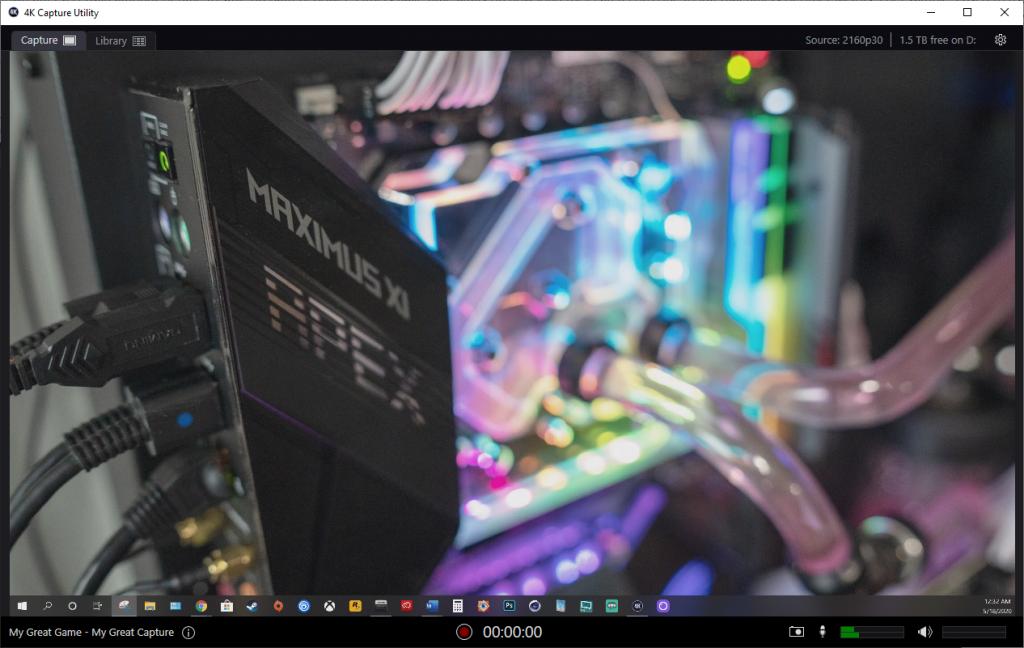
The Cam Link 4k supports Elgato’s 4k Capture Utility for Windows which can be downloaded from the Elgato website here: https://www.elgato.com/en/gaming/downloads. The 4k Utility allows you to record directly to any hard drive or SSD on you PC, even an external drive. The 4k Capture Utility from Elgato is rather straight forward and simple to use. On the top left-hand corner of the screen there are two tabs. These tabs are the Capture screen and the Library. The capture screen is essentially what your camera sees. Or whatever HDMI device is plugged into the Cam Link that will work. During testing, I was able to capture a screen from another computer. Where the Cam Link is designed for use with cameras, I wasn’t sure if it would work. However, it did. It also captured the audio.
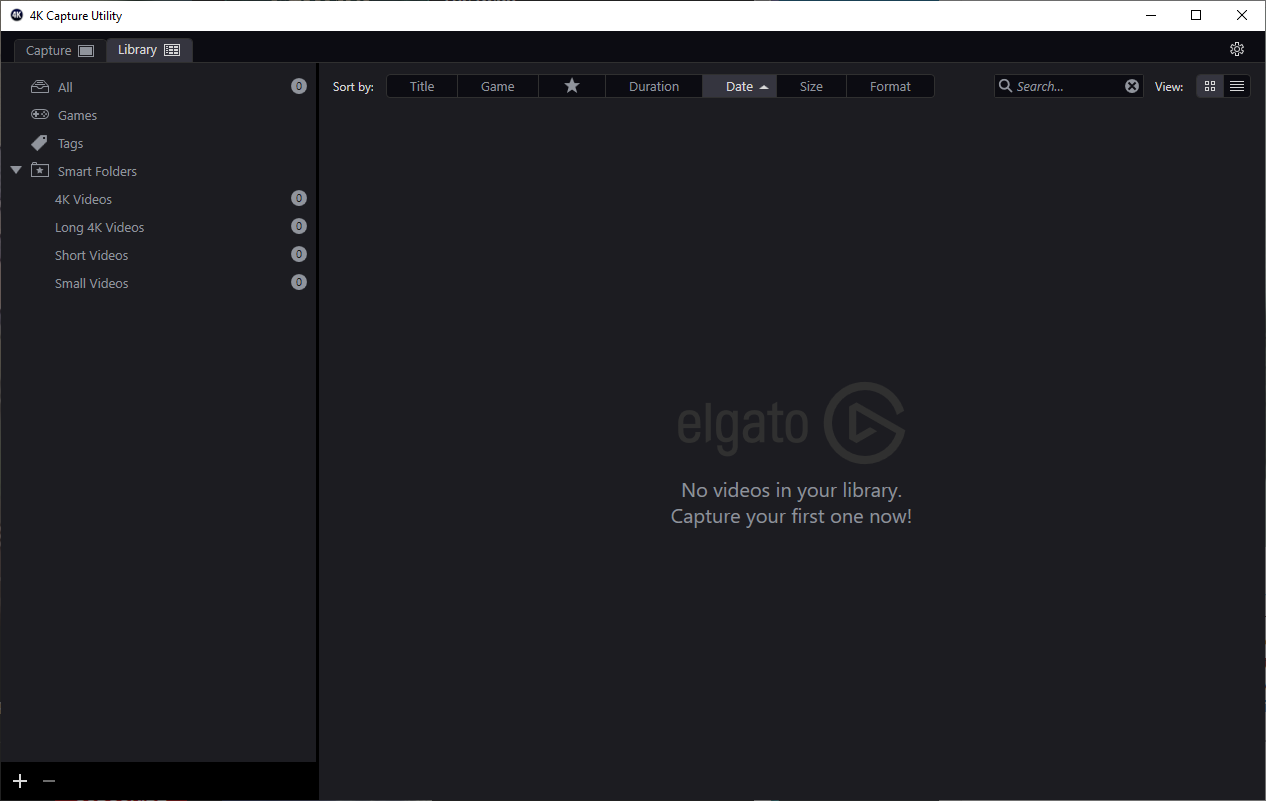
The next section in the Elgato 4k Capture Utility is the Library. Here, you can store and manage all of your captures be it games or videos you record. The Library has Four main folders; All, Games, Tags and Smart Folder. The Smart Folder separates your videos according to length and quality. There are four categories in the smart folder. These are 4k Videos, Long 4k Videos, Short Videos and Small Videos. You can also add in your own folders.
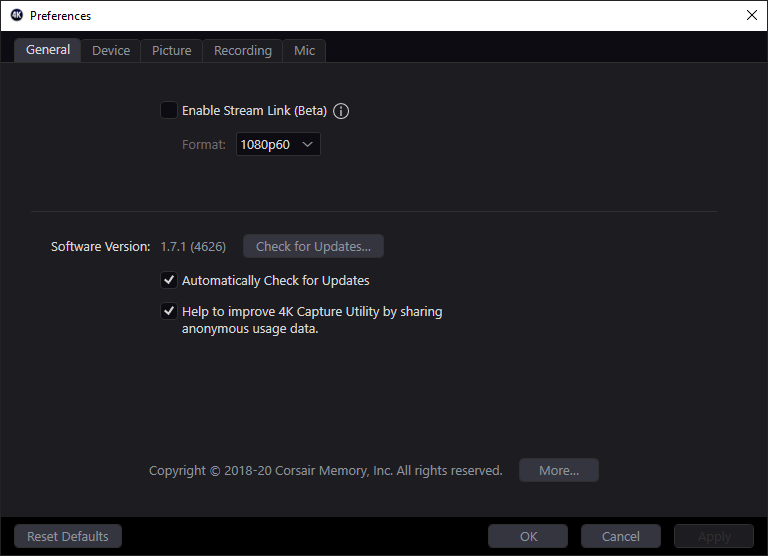
Other than the Capture section and Library section, there is the preferences menu. This is broken down into five sections. These sections are General, Devices, Picture, Recording and Mic. In the General section, you can enable the Stream Link beta as well as select the format for Stream Link. The Elgato Stream Link software allows you to capture your IOS device to your desktop. Its a cool feature and it works rather well. I have used it in the past. Stream Link also allows you to use your iPhone as a webcam. In the general section, you can also update your software.
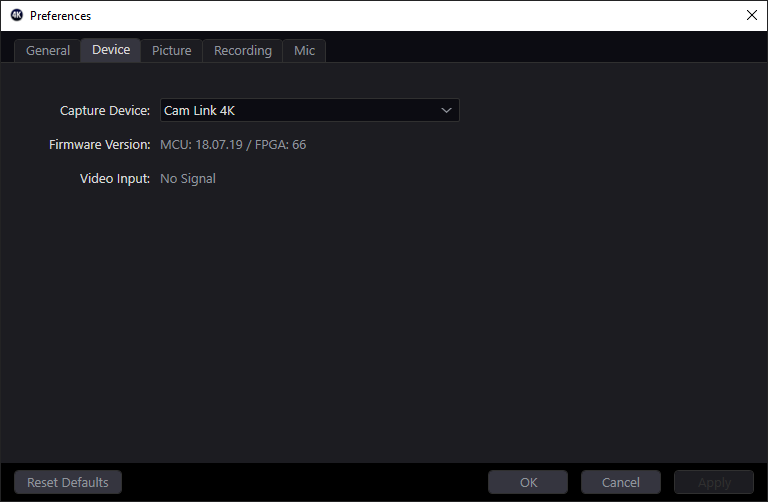
In the device section, you can swap between other installed Elgato Capture devices such as the Elgato HD60, The HD60 Pro or the 4K60 Pro just to name a few. Now, you can install multiple Elgato capture devices on one system. However, the 4k Capture Utility can one capture one device at a time. What you can do is Capture your camera using the Cam Link 4k in an application such as Xsplit or Discord. Then, using another Elgato capture device suck as the 4K60 Pro, use the 4K Capture Utility to capture another PC. This is very useful for streaming.
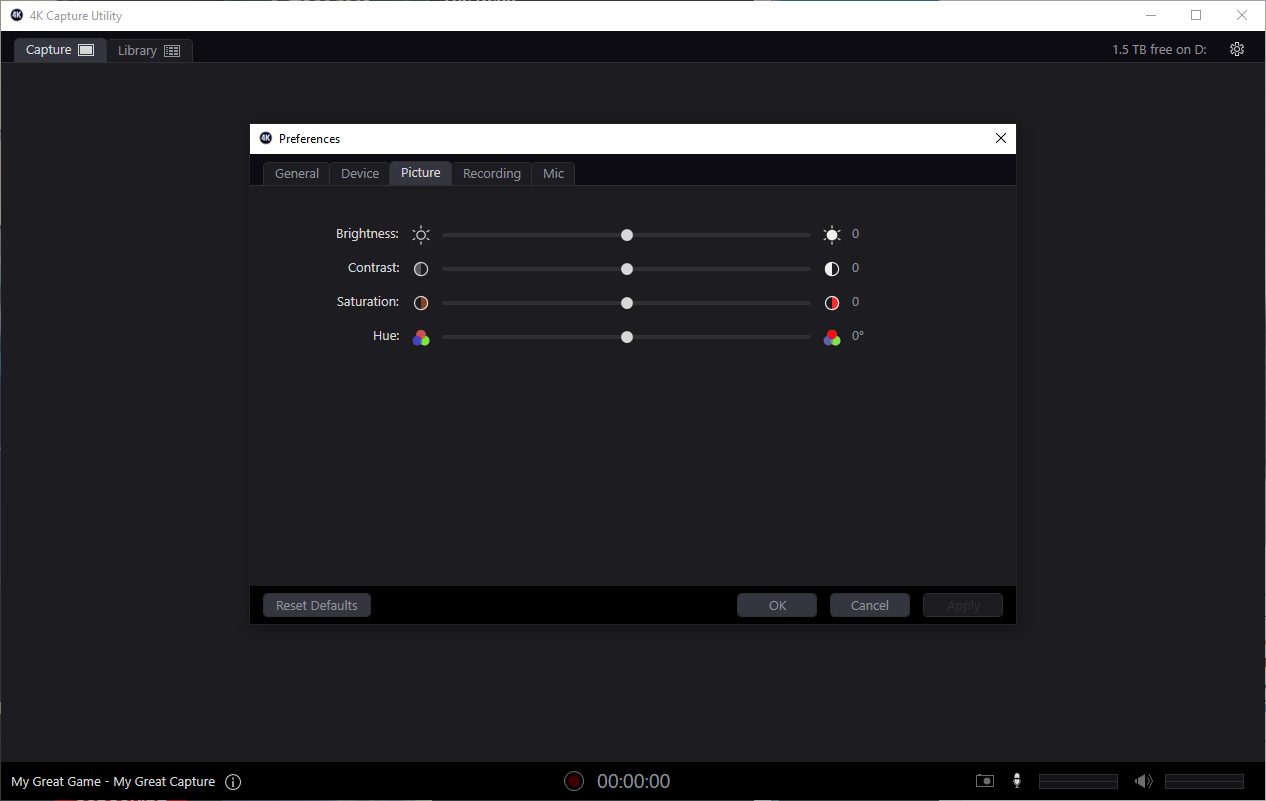
The next section in the preferences menu is the Picture section. Here you can adjust the brightness, contrast, saturation and hue of the picture the Elgato 4k utility is capturing.
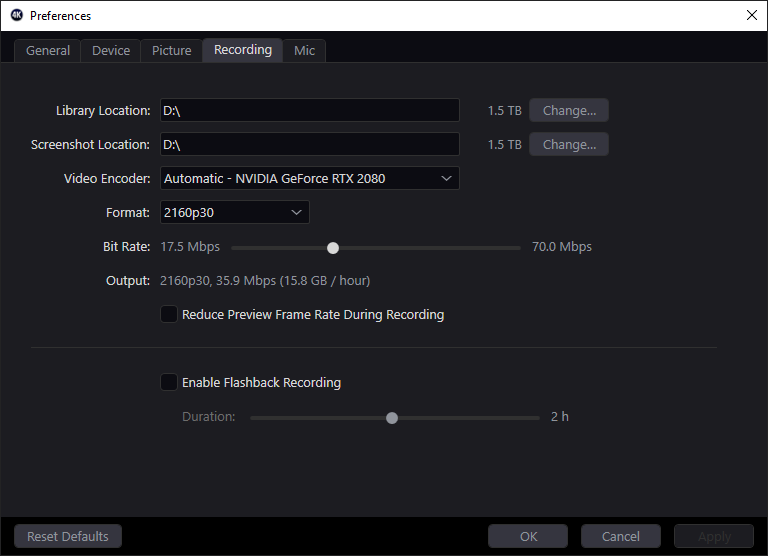
The recording section allows you to chose where both your recordings and screen shots will; be saved. You can also select the video encoder. You can select between your install graphics card, or the encoder built into the software. For the format, the Cam Link 4K can capture in four resolutions but has eight options over all. These options are 720p30, 720p60, 1080p30, 1080p60, 1440p30, 1440p60, 2160p30 and 2160p60. The bit rate is determined by the format. The output tells you the format, bit rate and how much storage will be used with your current settings. For example, at 2160p30 and a bit rate of 35.9 Mbps will use 15.8 GB of storage per hour. You can also chose to reduce the preview frame rate during recording and enable flashback recording. The Flashback recording will start recording when the 4k Capture Utility launches. You can also set the flashback recording time for up to two hours.
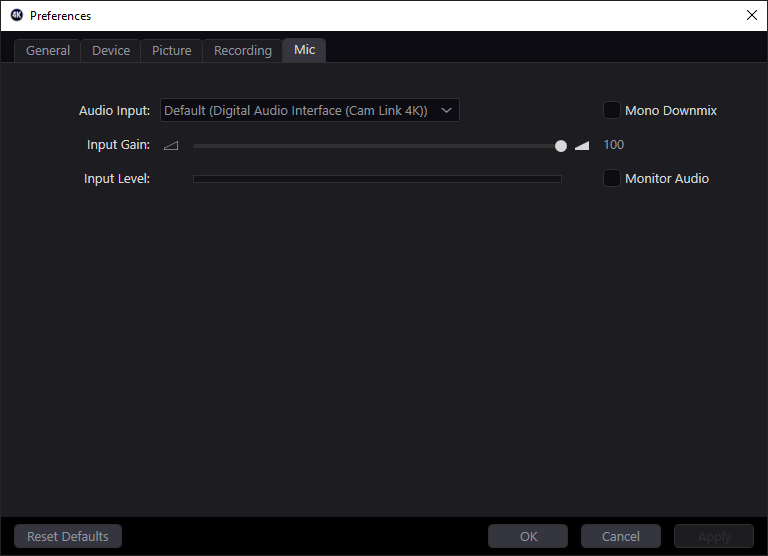
The Mic section is the final section in the preferences menu. Here you can select your mic to use with the 4k Capture Utility. You can also adjust the input gain and input level. The 4k Capture Utility also allows you to monitor the audio.
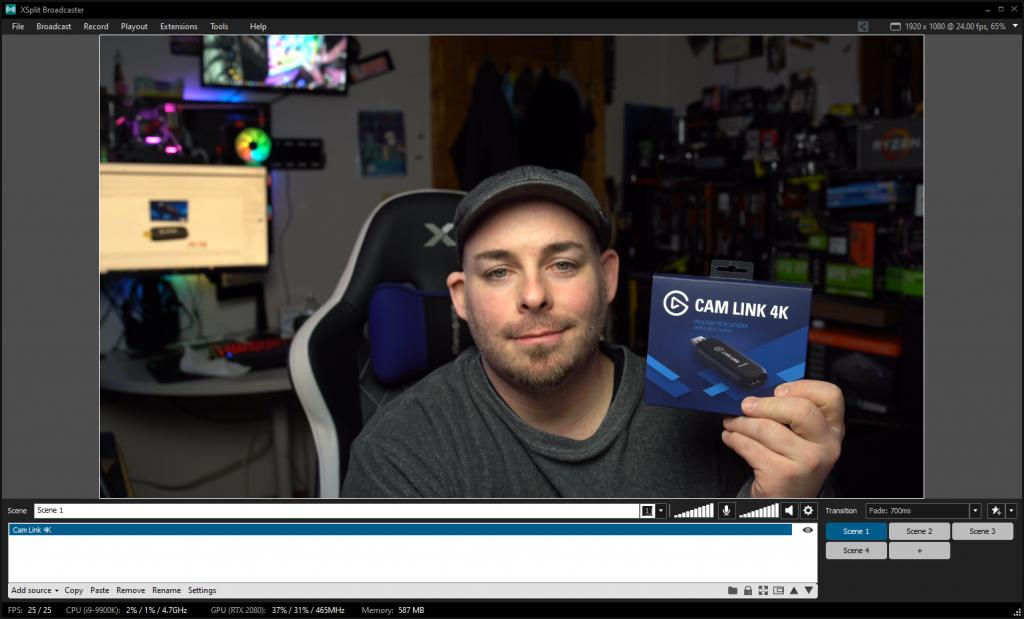
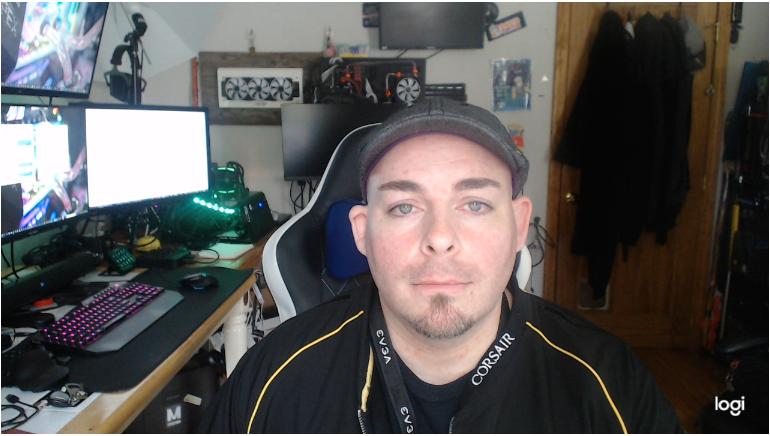
If you’re a streamer, The 4k Capture Utility can be used as source in Xsplit or OBS. As you can see from the two images below, the Cam Link 4k offers a far better image than your average webcam. One image is from the The Sony A7III, through the Cam Link 4k in Xsplit. The other image is from the Logitech software using the Logitech C920 Webcam. Given the quality of your camera will determine the quality of you capture. But any DSLR, camcorder or mirror-less camera paired with the Elgato Cam Link 4k will offer far superior quality than any webcam.
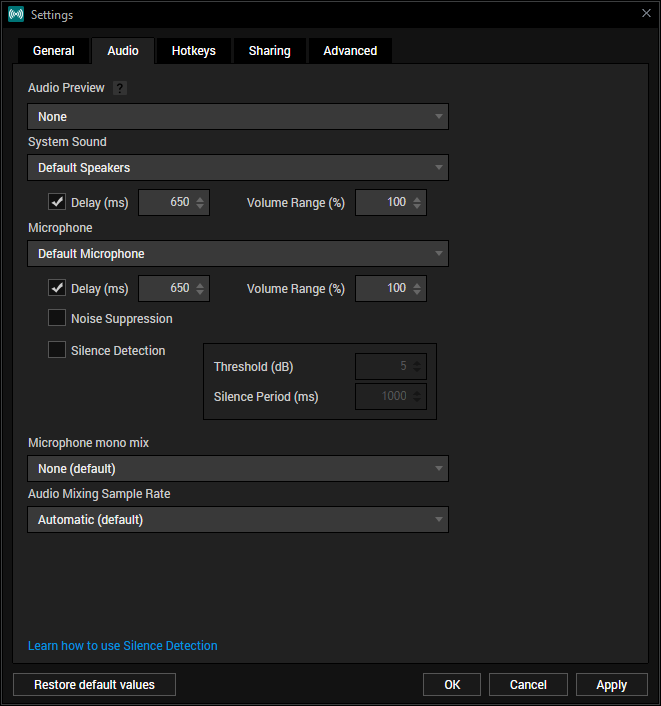
One this that is very important to keep in mind is there is an audio delay when using any capture card. Especially if you’re using something other than the audio on your camera, or even a shotgun mic attached to your camera. For streaming, I use the Sound Blaster K3+ with the Audio Technica AT2035. This caused a terrible audio delay in Xsplit when streaming or recording tot he 4k Capture Utility. There are two options to resolve this issue. When streaming, simply go into your streaming applications settings and set a 650 ms delay on both the speakers and mic. It won’t be perfect, but its as close as I could get and the settings that Elgato recommended to me. The second option is for recording and that is to use an application such as Adobe Audition or a free option like Audacity to record your audio separately and fix it in post. But, if you don’t care to play with software or intend to record videos, and just plan to use the Cam Link 4k for Skype, Discord or Zoom, you can simply plug it in and use it.

