Intro
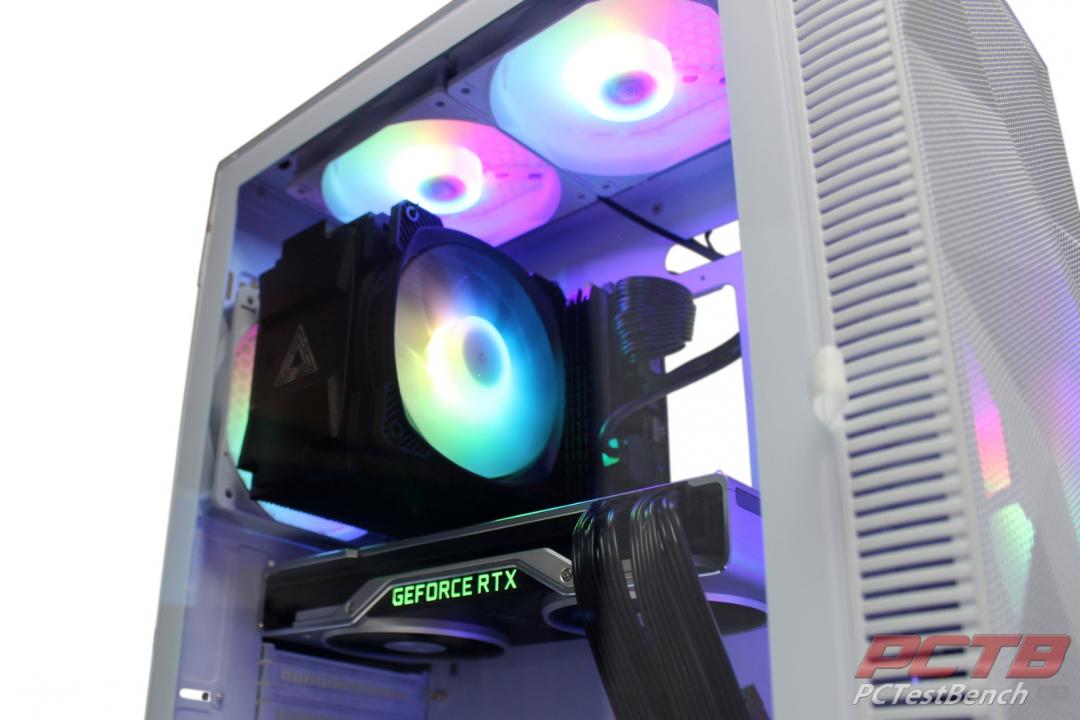
PC Cases run the gamut in about every category you can imagine, and it seems like all of them bring a single ‘feature’ or gimmick up as the main selling point. This one is so big it can fit everything, that one can be flipped over, another one comes with a GPU brace, and so on. What do you do if you just want a well-built case that is easy to build in, offers flexibility and has a great view of your internals without performance-limiting air restrictions? What if it came fully loaded with RGB fans, not just one or two in the front, but every single fan location? What if it only cost $72.99? No, It’s not impossible, we’ll be taking a look at just such a unicorn. Designed to give unmatched Price per Performance, the X3 Mesh from Montech gives users a panoramic view of the high airflow interior and comes complete with 6 RGB fans that can be turned on or off with a single button. Let’s take a closer look!
We would like to thank Montech for sending the X3 Mesh over for us to check out.
Montech’s description of the X3 Mesh:
The Montech X3 Mesh is not just any PC Gaming case, it’s an upgrade in every aspect compared to past X series cases. The X3 delivers the best Price per Performance ratio Montech has to offer!
Key Features:
- High Airflow
- The Montech X3’s triple front 140mm fans provide massive air intake, and with pre-mounted top and rear ventilation, optimizing the airflow system.
- RGB Lighting Show
- All six pre-installed fans are fixed RGB lighting capable, you can turn the fan lighting on or off by simply pressing the LED button.
- Full Panoramic View
- The Montech X3 features a full Panoramic Tempered Glass side panel, so you can easily show off your battle system and RGB lighting.
- More Convenience, More Safety
- The unique Side Swivel Tempered Glass Side Panel design is not only easier for users to unmount, the zero drill-hole design drastically improves the panel’s strength integrity, and safety.
Specifications
| Product Name | X3 Mesh | |
| Available Color | White | |
| Dimensions (LxWxH)/N.W./G.W. | 370*210*480(Case), 530*265*425(Carton)mm/5.42 Kg/ 6.28Kg | |
| Motherboard Support | ATX/Micro ATX/Mini ITX | |
| Expansion Slots | 7 | |
| Drive Bays | 2.5″ | 2 |
| 3.5″ or 2.5″ | 2 | |
| I/O Port | USB2.0*2, USB3.0*1, Audio*1, mic*1, Light switch | |
| Pre-installed Fan(s) | Front | 140mm x 3 (LED Rainbow fan) |
| Top | 120mm x 2 (LED Rainbow fan) | |
| Rear | 120mm x 1 (LED Rainbow fan) | |
| Fan Support | Front | 120/140mm x3 |
| Rear | 120mm x 1 | |
| Top | 120mm x 2 | |
| Clearance | VGA | 305mm |
| CPU | 160mm | |
| Dust Filters | Top, Bottom | |
| Power Supply Support | Bottom mount, ATX | |
A Closer Look at the Outside
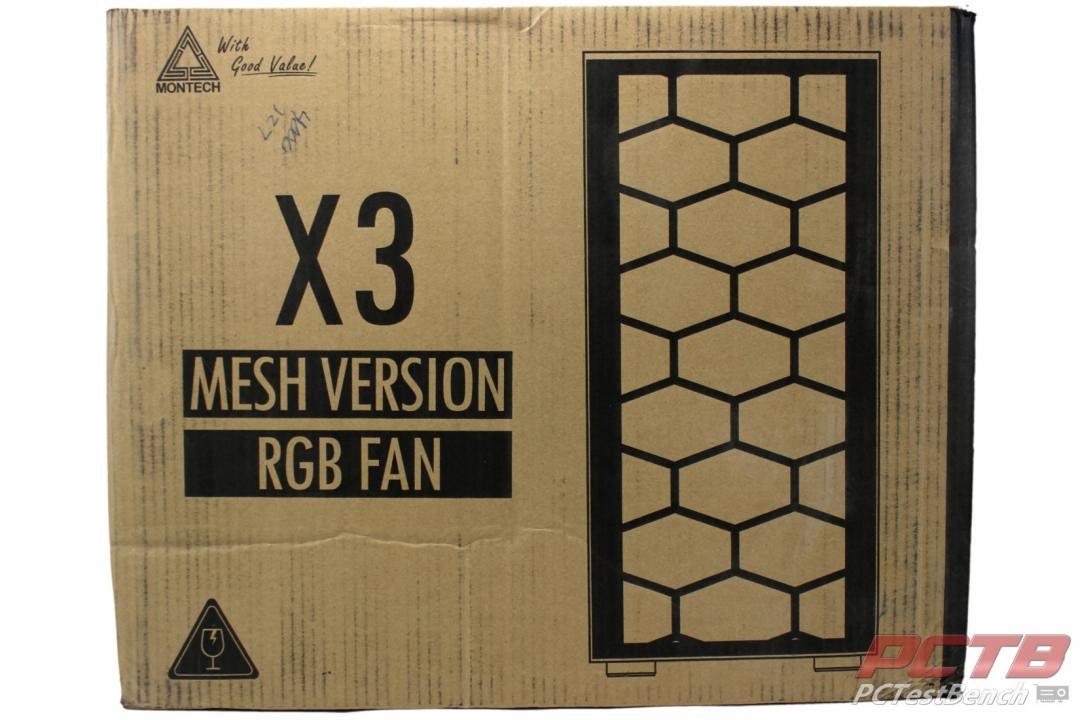
Montech’s X3 Mesh comes in a standard brown box and indicates this is the Mesh RGB Fan version of the X3.
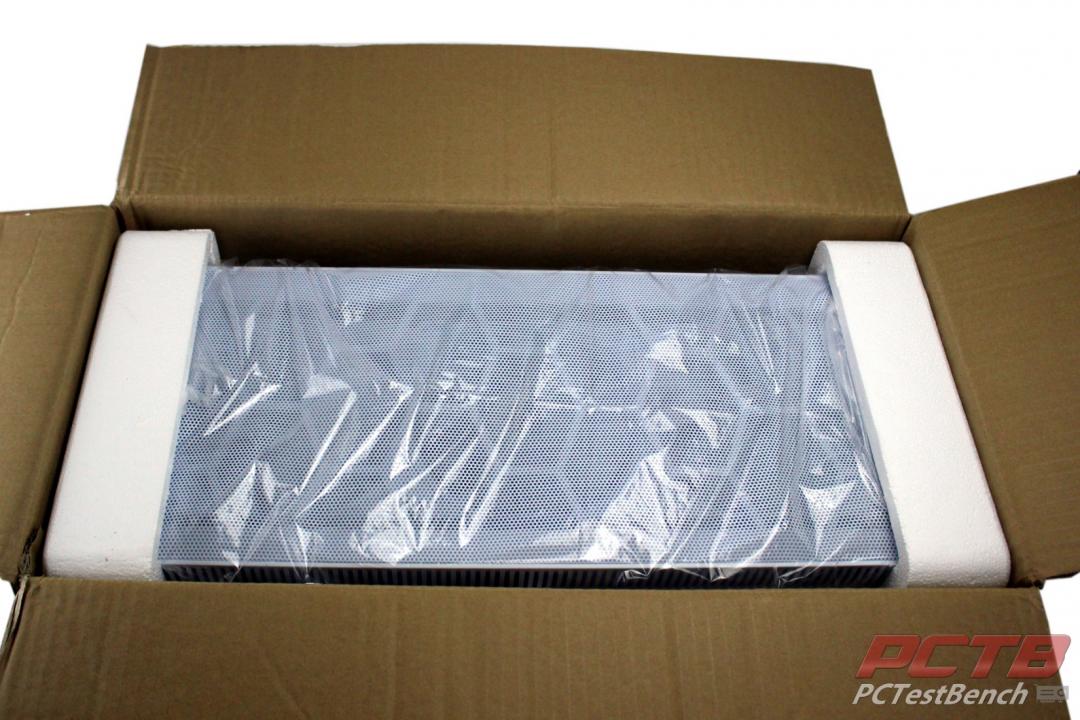
Inside, the case is held safely in the center by two large Styrofoam blocks while being wrapped in a plastic bag.
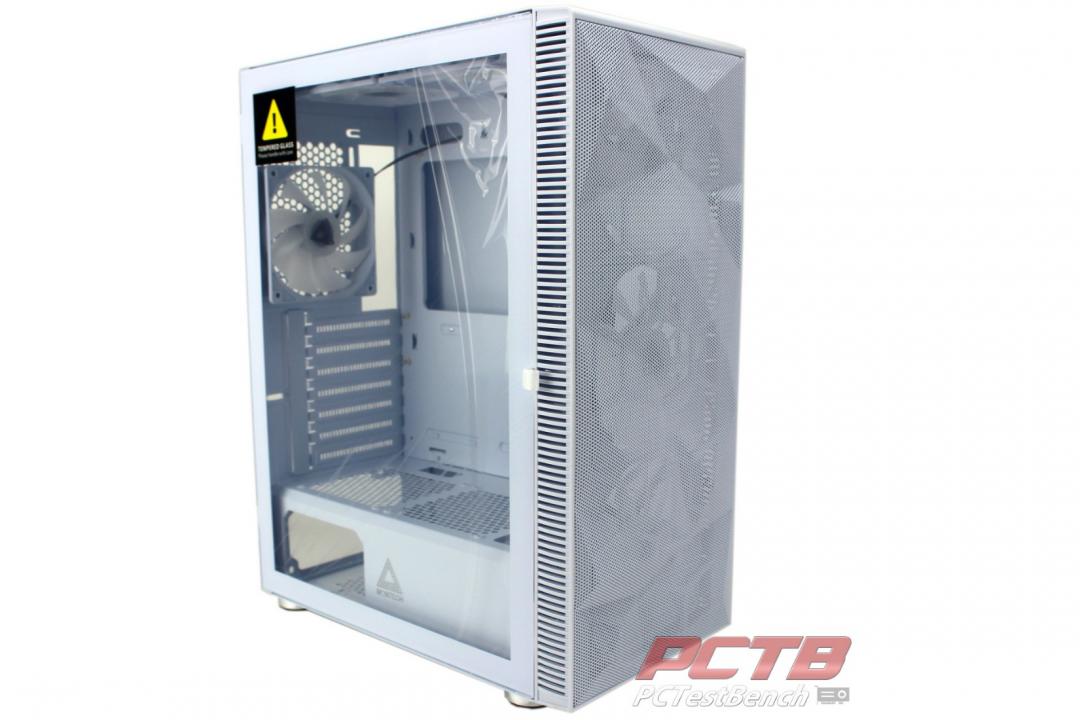
Montech’s X3 Mesh is a tall but shallow case, you won’t need a deep desk to hold it comfortably.
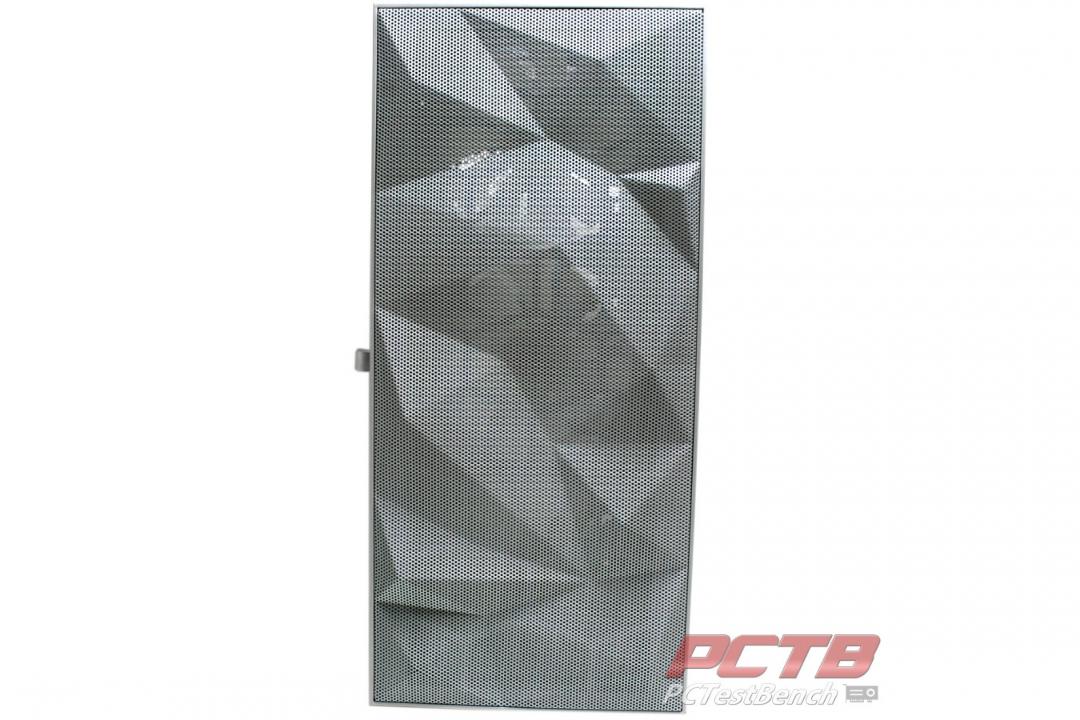
The geodesic pattern of the mesh front panel helps break up and some character to the face of the X3 Mesh.
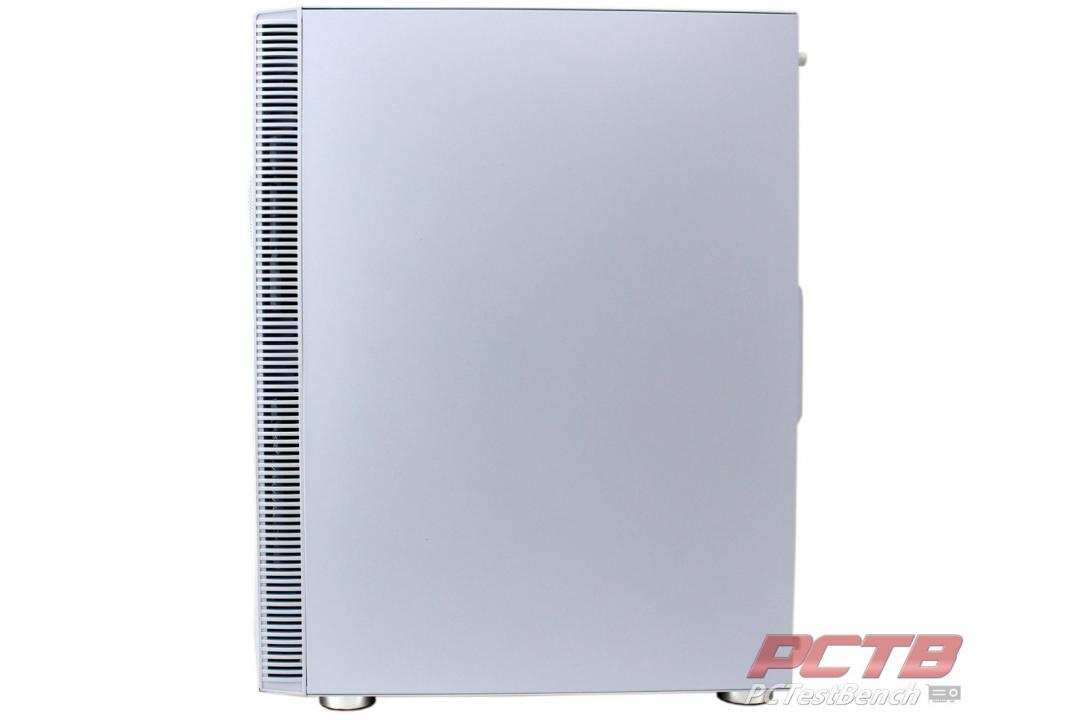
Like many cases, the right-hand panel is there to cover everything. A large vented section on the front helps with air intake.
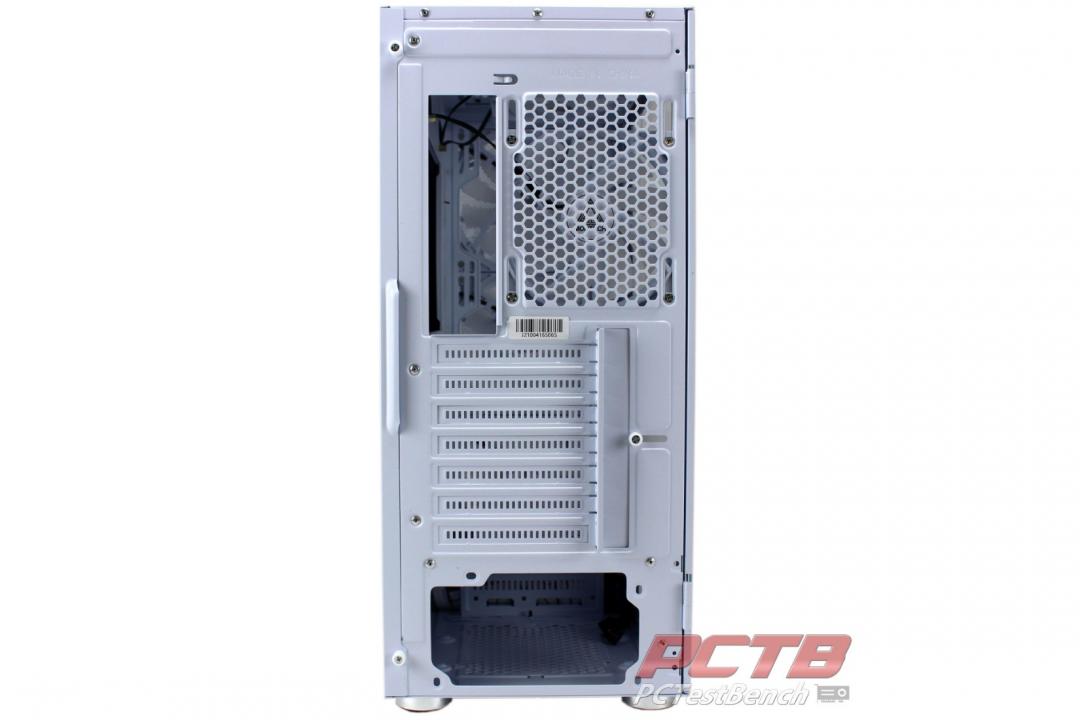
The rear of the case looks pretty typical for an ATX Mid-tower, you get 7 expansion slots, a lower power supply opening, and a 120mm fan attached above the motherboard I/O area.
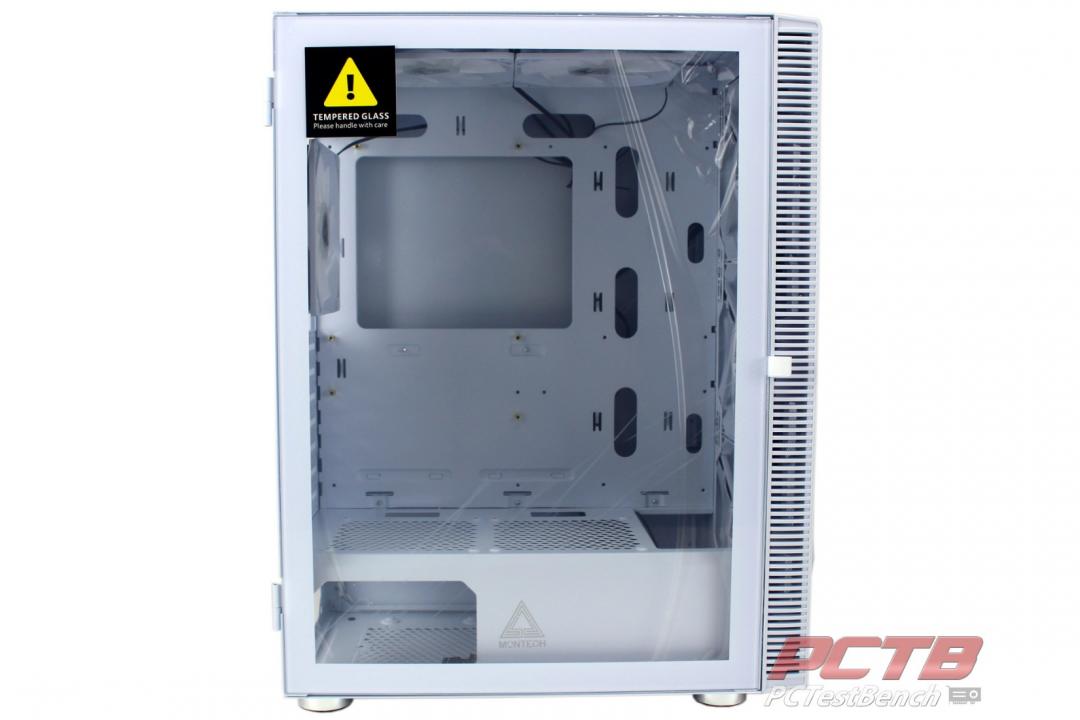
The left side is the business end with a large floor-to-ceiling glass window.
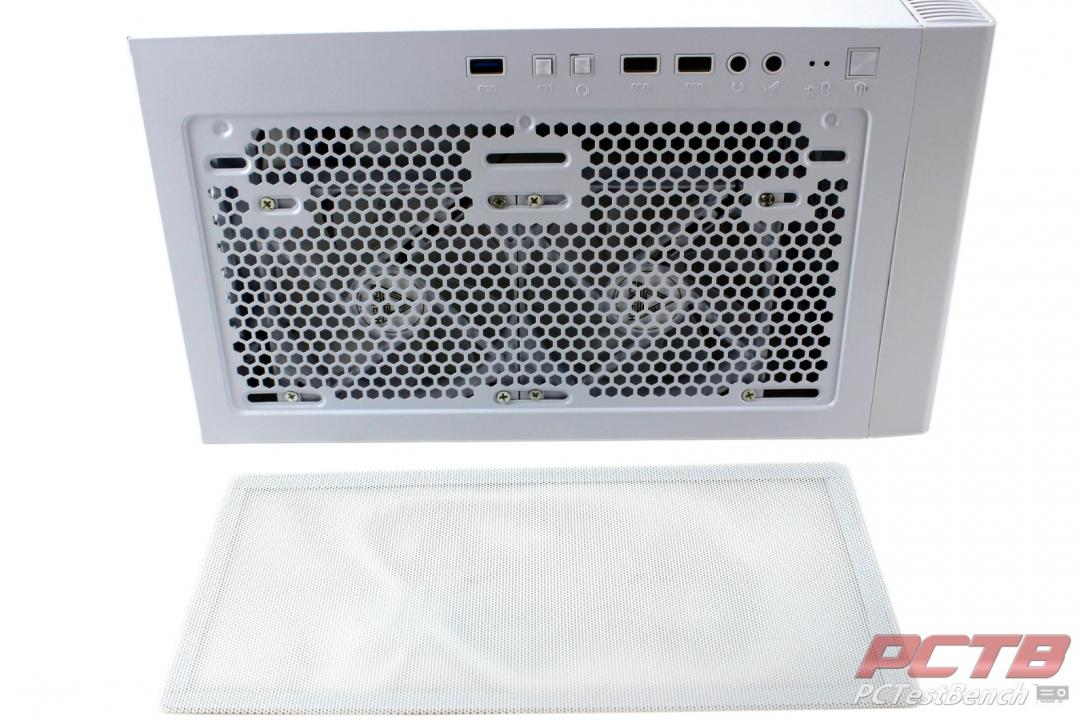
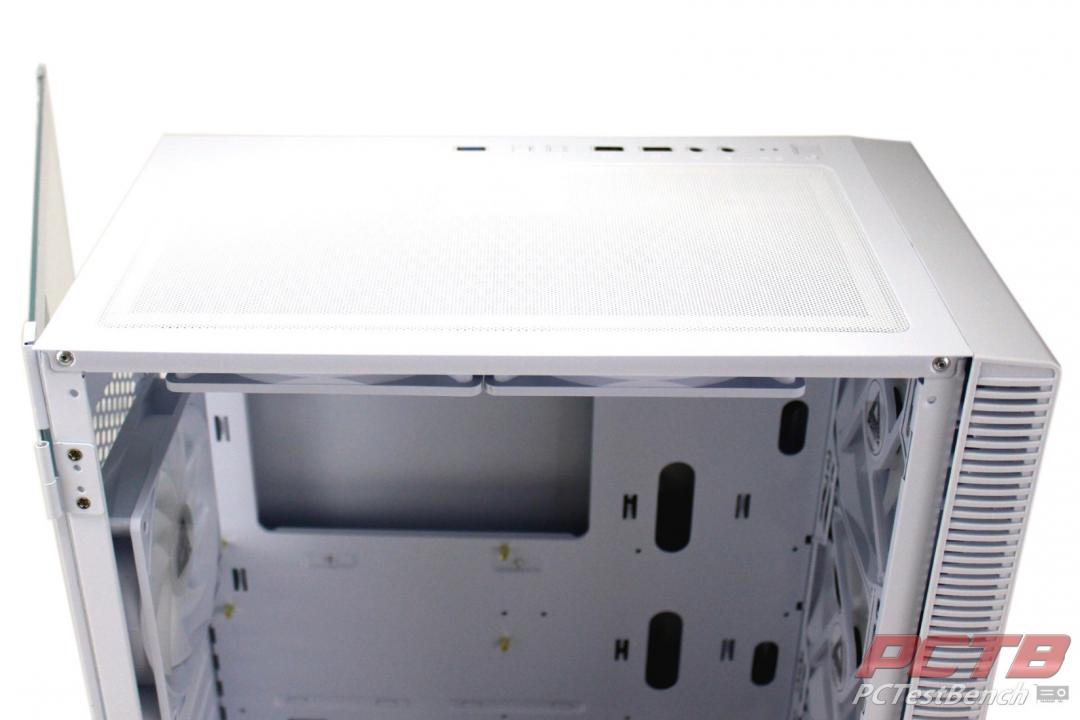
The top is covered with a magnetic filter that blends seamlessly with the rest of the case. I/O includes the usual power and reset buttons, twin USB 3.0 ports, a lone USB 2.0 port, and an RGB on/off button. Of course, you get standard HD Audio ports as well as power and drive activity indicators as well. It’s also worth noting that while the X3 Mesh comes with the top fan positions occupied, the case also supports 140mm fans or a 280mm cooler in this location as well.
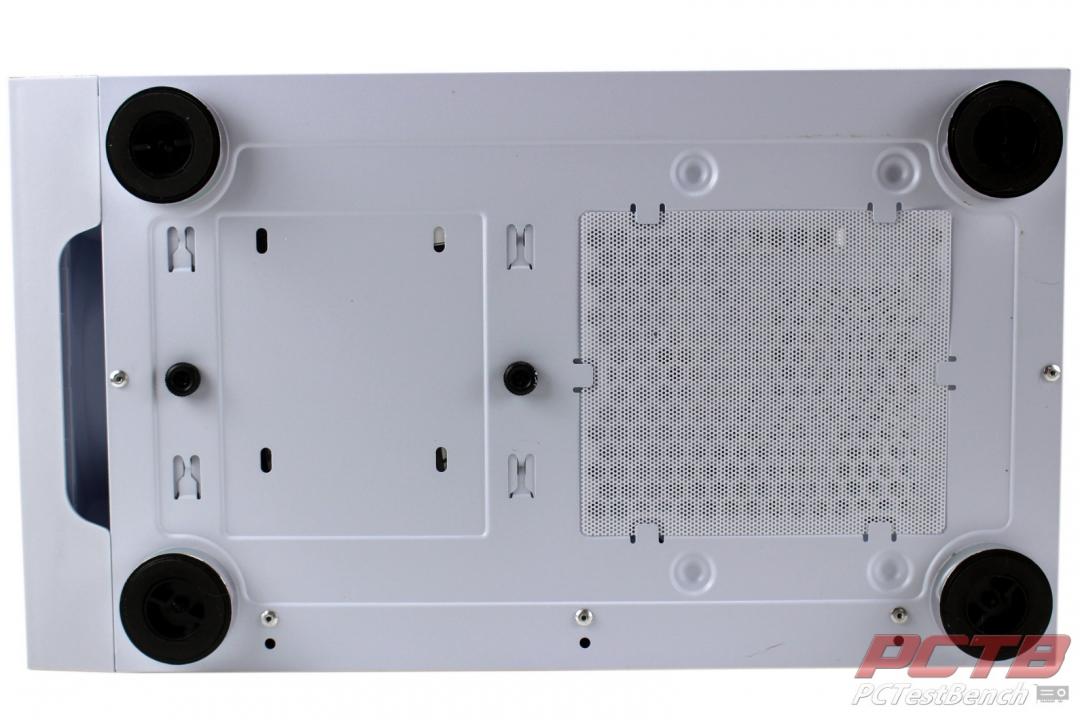
On the bottom, you find another fan filter for the PSU intake and two thumbscrews that allow removal of the 3.5” drive tray in the case basement.
A Closer Look at the Inside
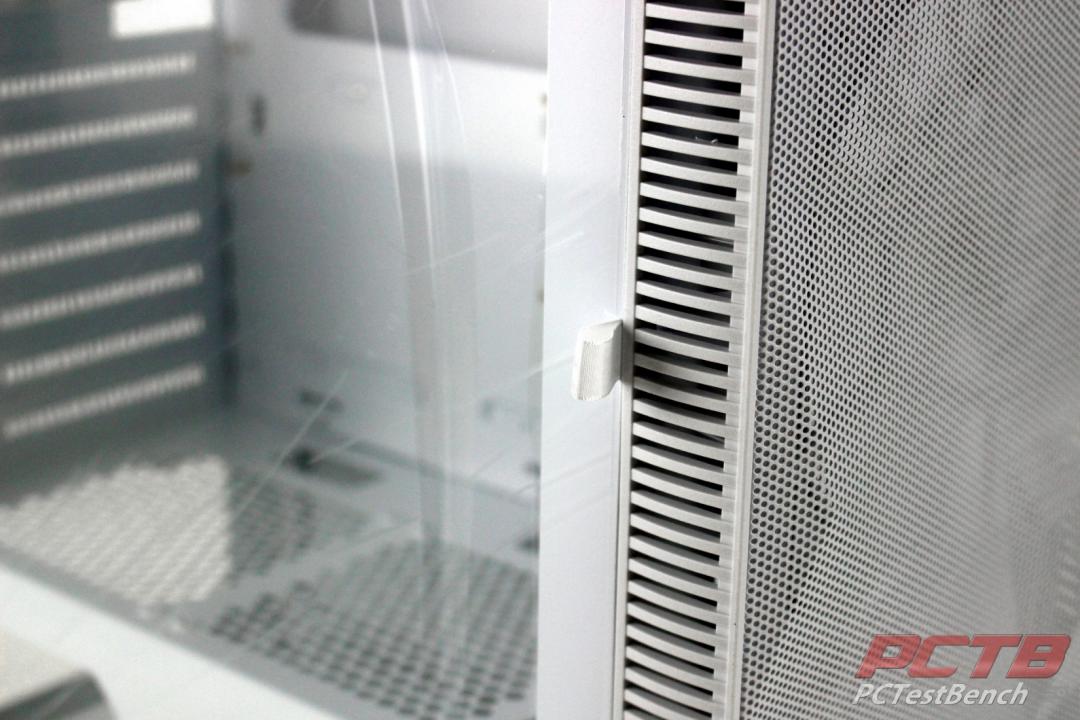
Our tour of the interior begins with this small cloth tag sticking out near the front.
A gentle tug releases the magnetic catch on the hinged glass door. Montech executed this feature quite well and we really liked it. The magnets are strong enough to hold the door firmly, but yield easily if you need inside.
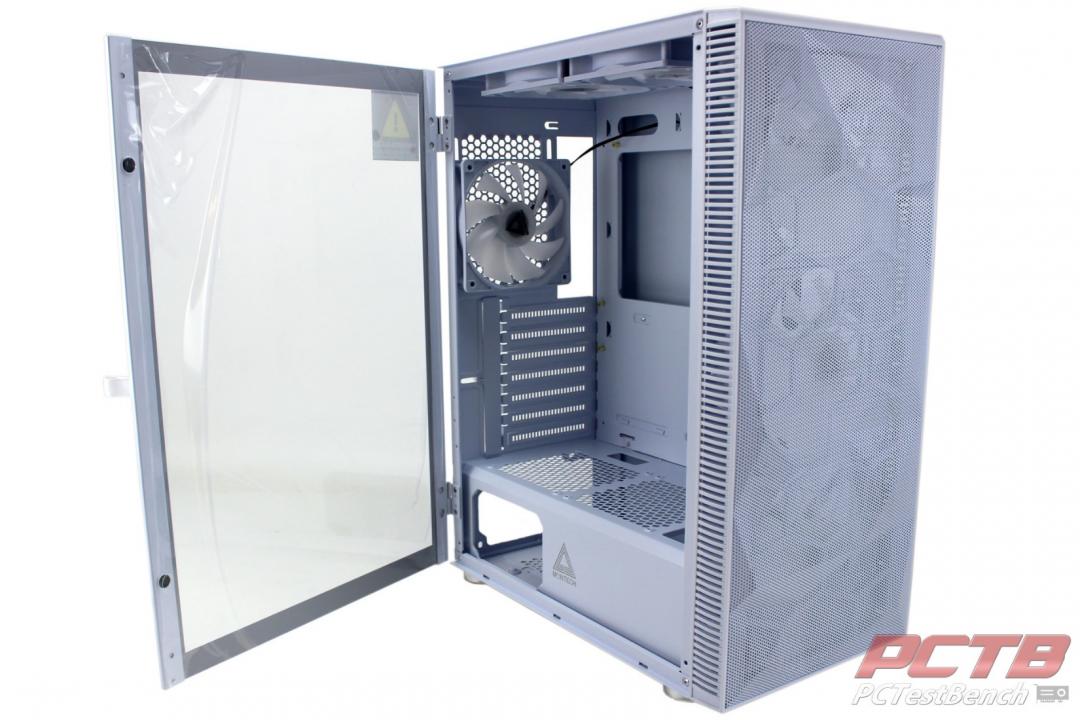
The hinges are not limiting and you can swing the door clear around behind the case.
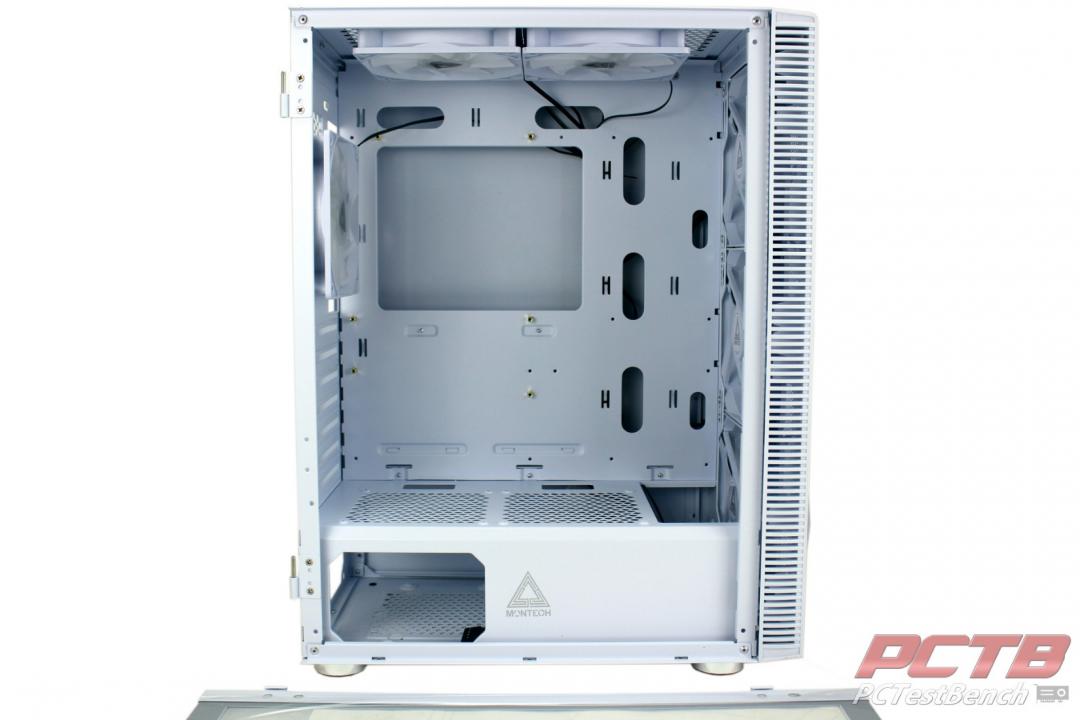
If you are doing something more intensive, you can lift the door off the hinges to easily remove it entirely. The interior of the case is mostly dominated by the ATX board mounting footprint, but there is plenty of space above for a cooler, as well as the front.
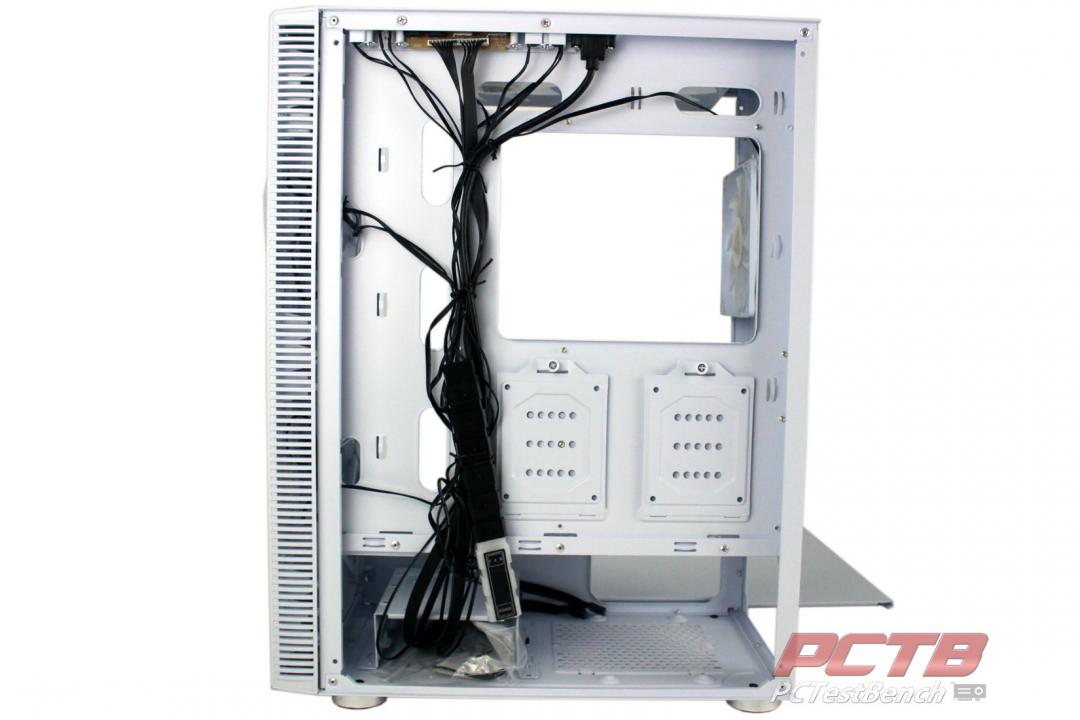
The back of the X3 Mesh has quite a bit of wiring with the six pre-installed fans. A bag of accessories is stuffed in the 3.5” drive tray in the basement.
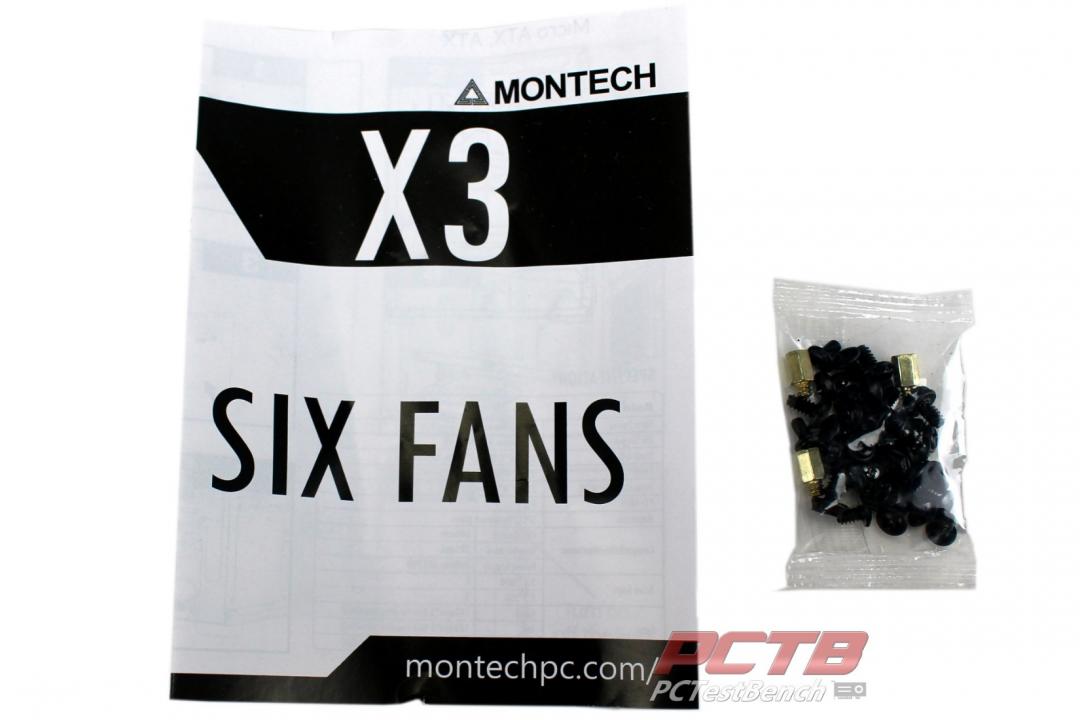
Inside is a manual and a baggie of hardware.
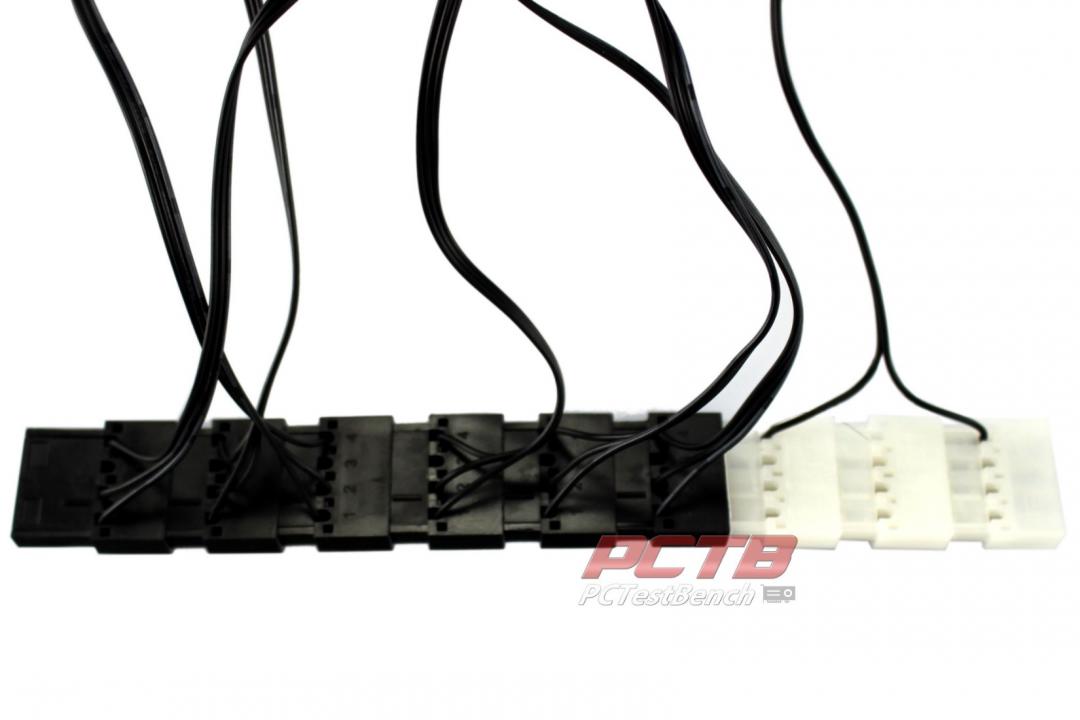
One of the more interesting finds in the cabling is this conglomerate. The black plugs are the 6 pre-installed fans, and the white plugs are the LED Switch for turning off the lighting.
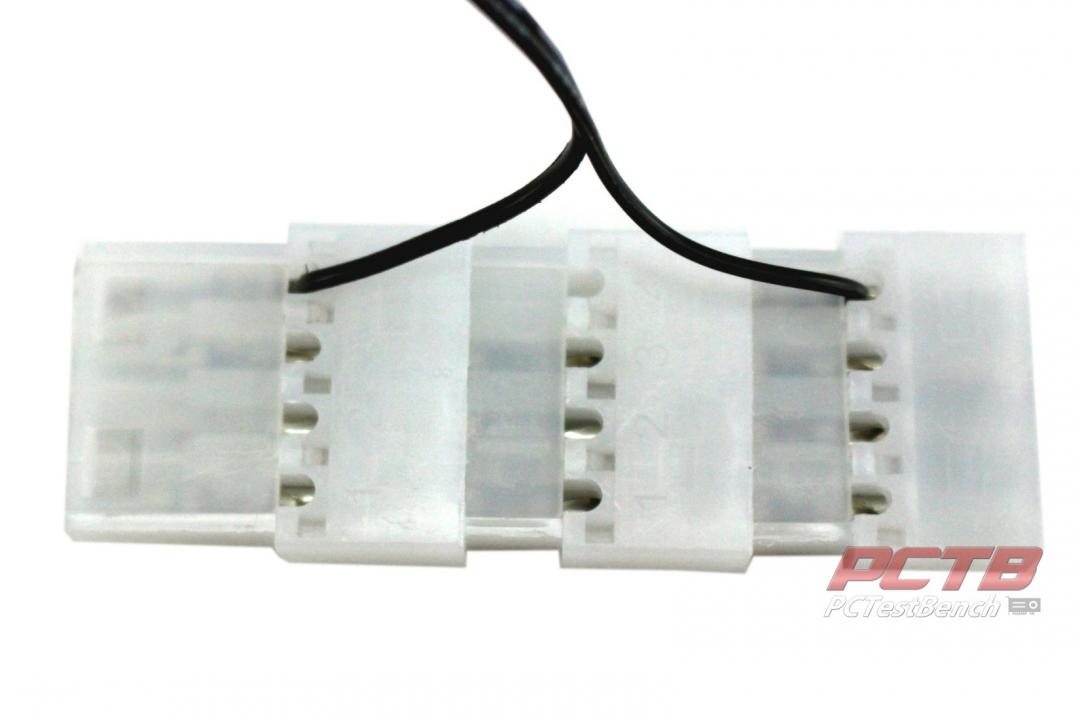
The RGB Switch breaks the 5V out of the molex plug, runs it through the top panel switch, and sends it back into the molex stack. This is ONLY for the fans, so be sure NOT to connect any other molex powered devices to this chain.
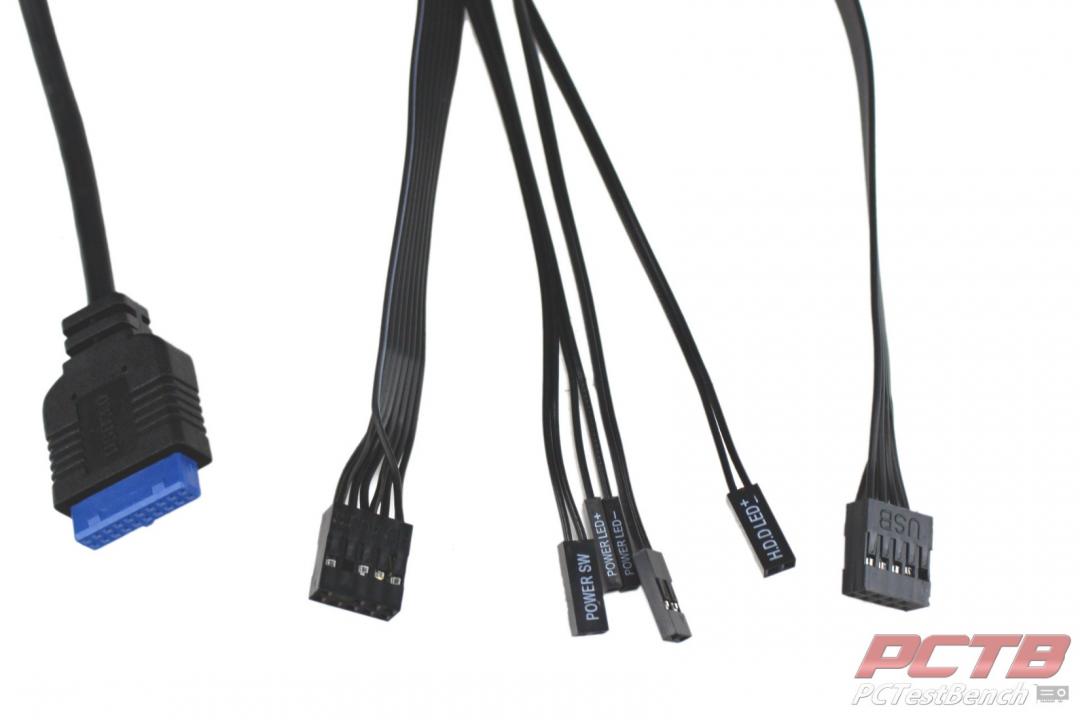
Front panel plugs look pretty typical and include USB 2.0, USB 3.0, Front Panel HD Audio, and front panel switches and indicators. All of them are sufficiently long for any build.
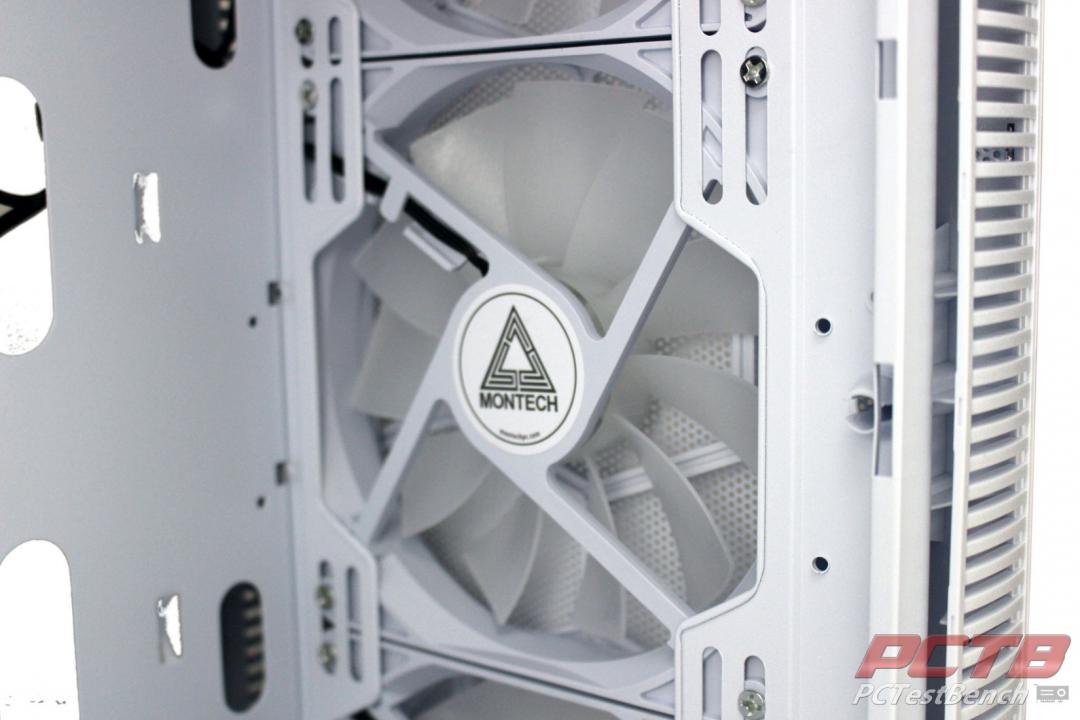
All six fans included are Montech’s own LED Fans. The light up in a static rainbow but are on/off only and do not offer any control of the lighting pattern or color. The fans also do not offer PWM control and by default just run at 100% speed, which thankfully is very quiet.
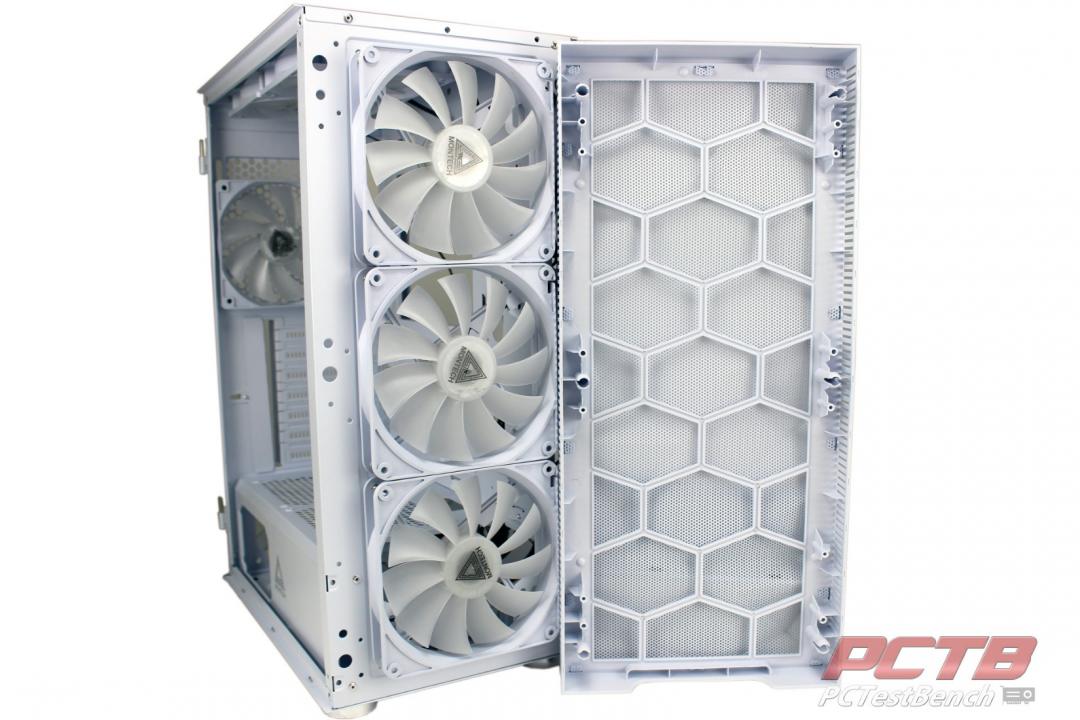
The entire front panel pops off easily with a tug to reveal three of the included fans. The front mesh of the case will act as a filter so you may need to remove the entire front to rinse it off from time to time.
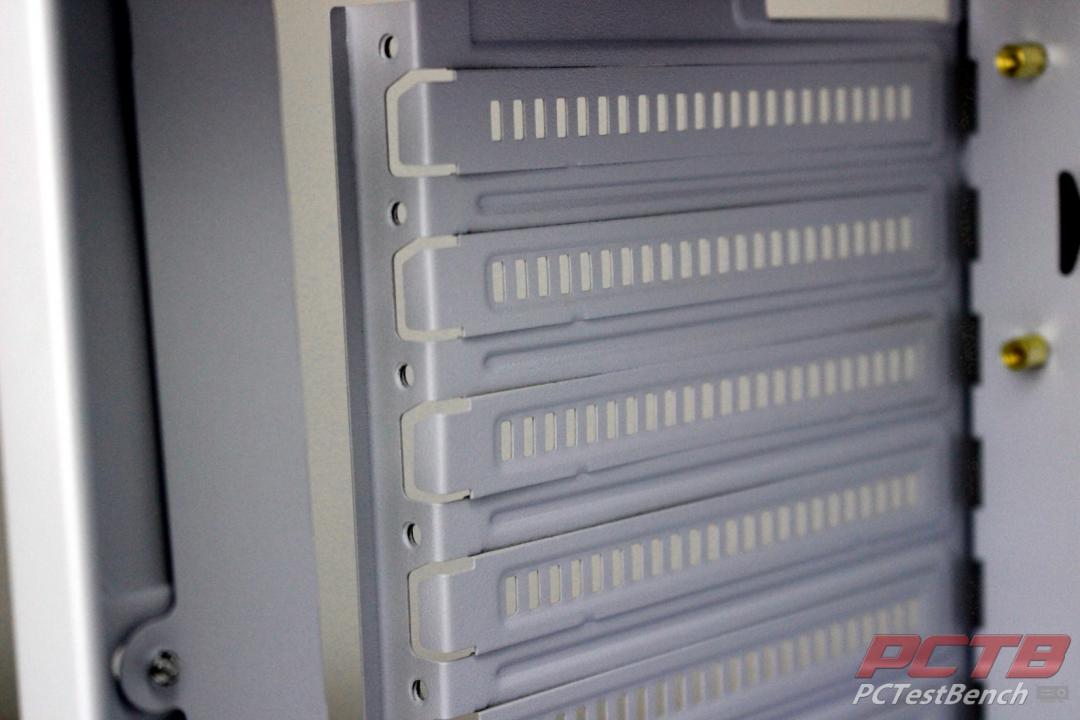
The rear I/O Slots are stamped and require the user to break out the slots they intend to remove by bending them back and forth. This is something we haven’t seen in quite a few years and aren’t keen on finding again. If you have memories of bloodletting from the bygone years of razor-sharp edges in stamped cases, this might make you cringe a bit. We will say that after having hands all over every single inch of the X3, we didn’t find a single sharp edge, and even breaking a few of these out for our test build didn’t leave any surprises though.
System Build
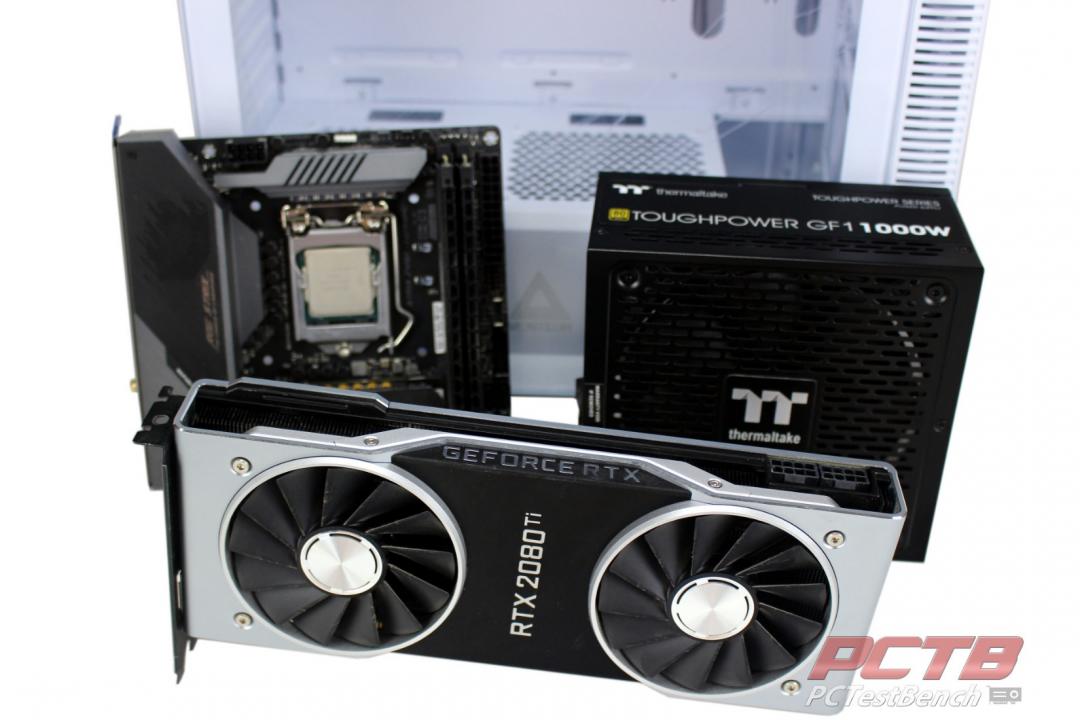
Internals will be as follows:
- Asus ROG Strix Z490-I Gaming
- Intel Core i9-10900K
- 16GB of Viper Blackout 4133MHz
- Nvidia RTX 2080TI FE
- Corsair MP600 2TB
- Thermaltake Toughpower GF1 1000W
- Montech Air Cooler 210
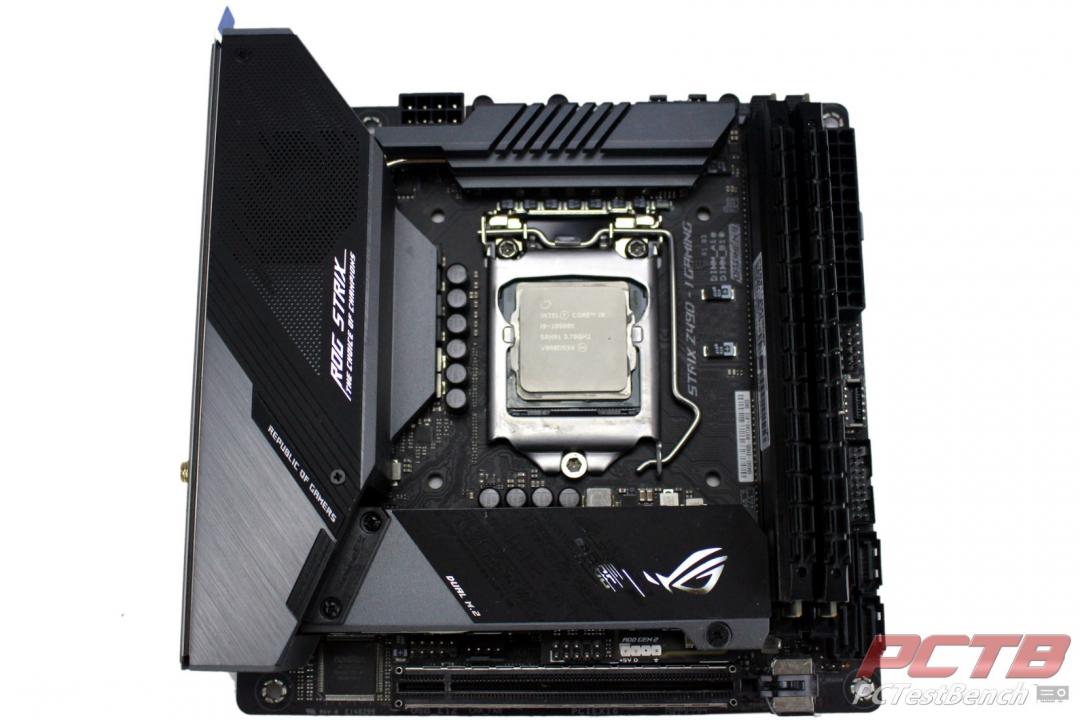
As with any build, it’s usually easier to install your CPU, M.2 drives, and sometimes even ram before you put the board in the case.
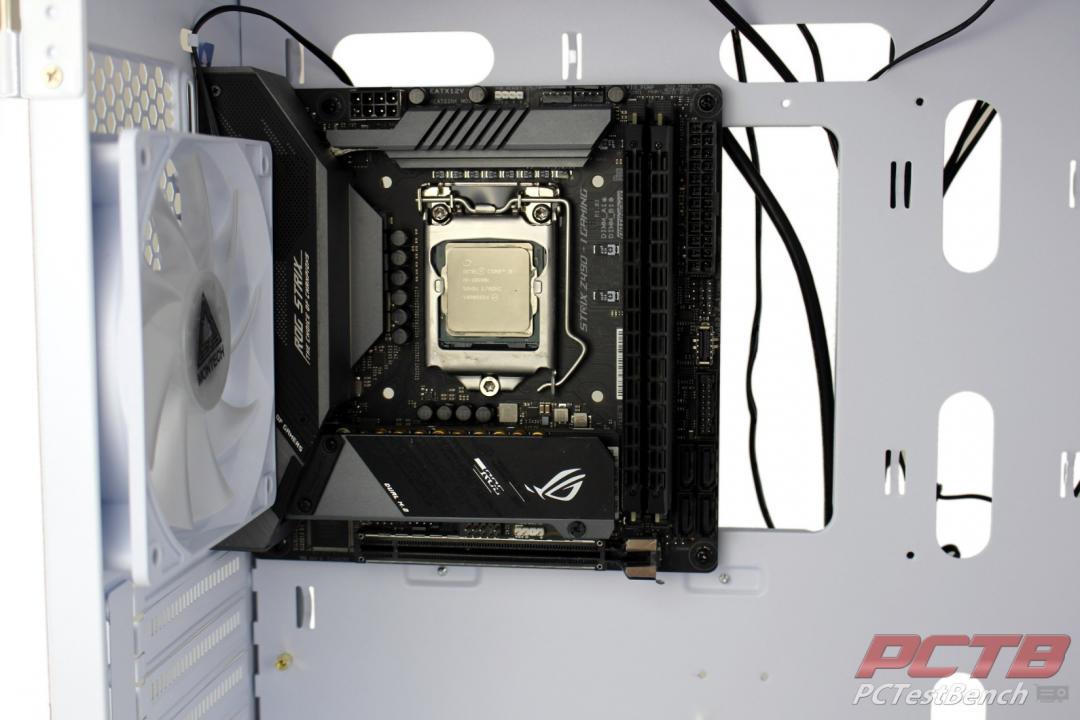
Montech’s X3 Mesh came with the stand-offs pre-installed for micro-ATX which readily accepts Mini-ITX. If you plan to install an ATX board, be sure to check the manual and install the correct standoffs.
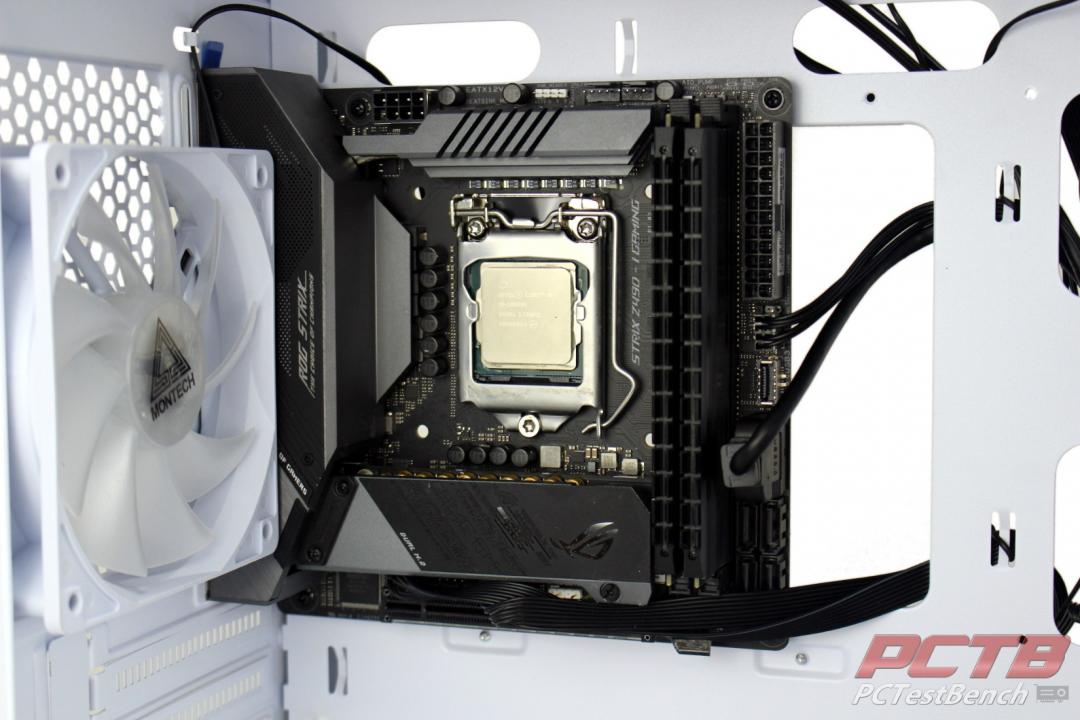
With the board installed, now is a great time to get all those pesky front panel cables connected to the appropriate headers.
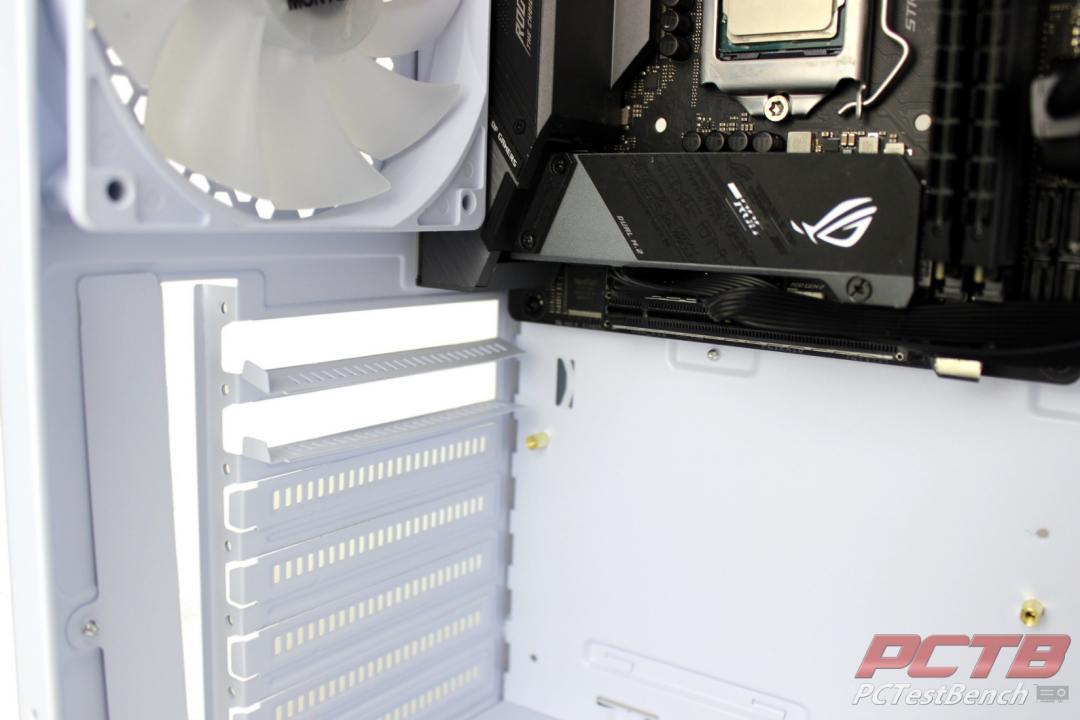
We’ll be installing a dual-slot GPU so we’ll break out the corresponding I/O slot covers by bending them inward, and then rocking back and forth until they detach.
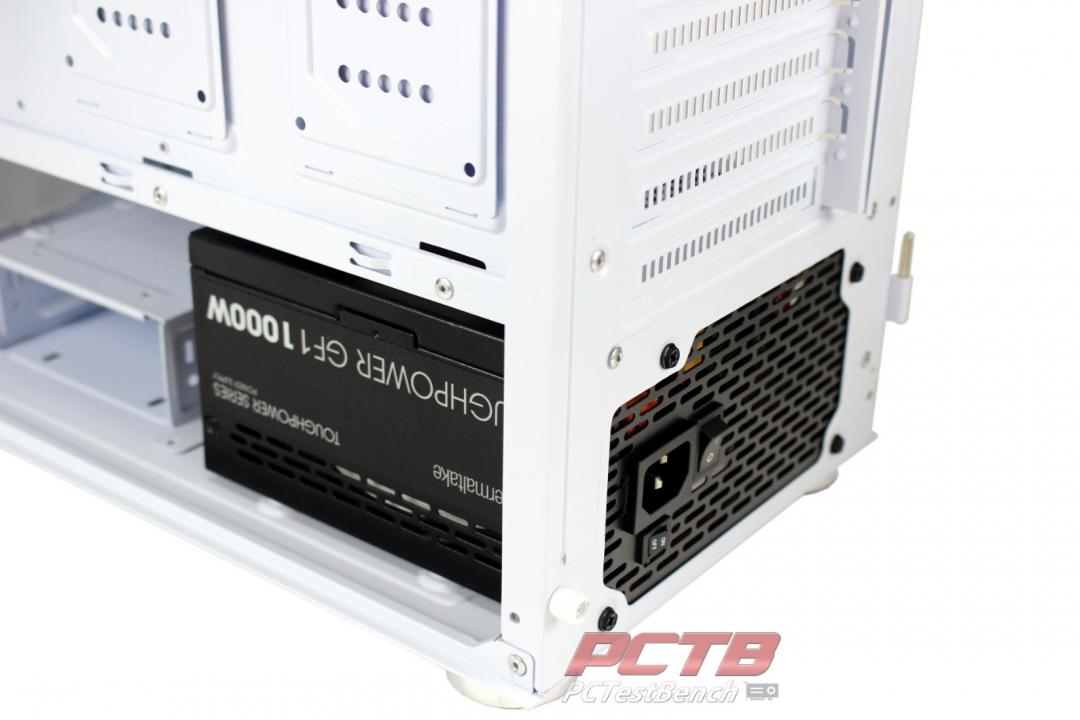
Next, we’ll spin around and install the power supply which slides in from the side of the case.
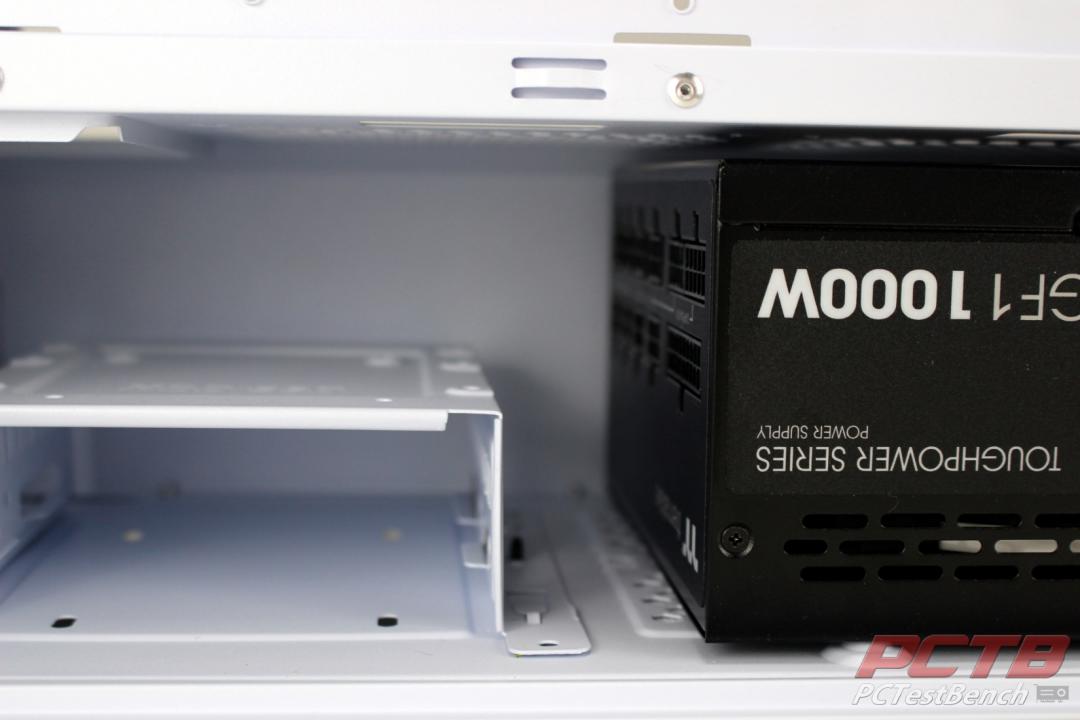
Our particular power supply is fully modular, but only 160mm long so we have enough room to install cables without needing to remove the 3.5” drive tray.
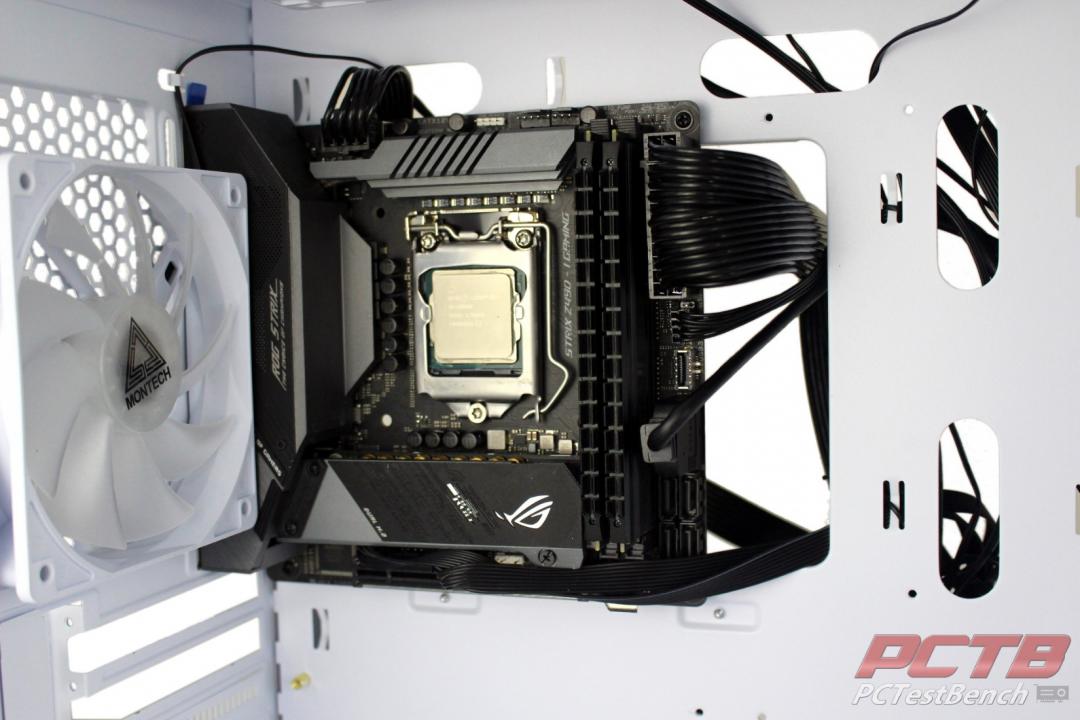
With the power supply installed, it’s time to run the 8-pin EPS and 24-pin main power cables.
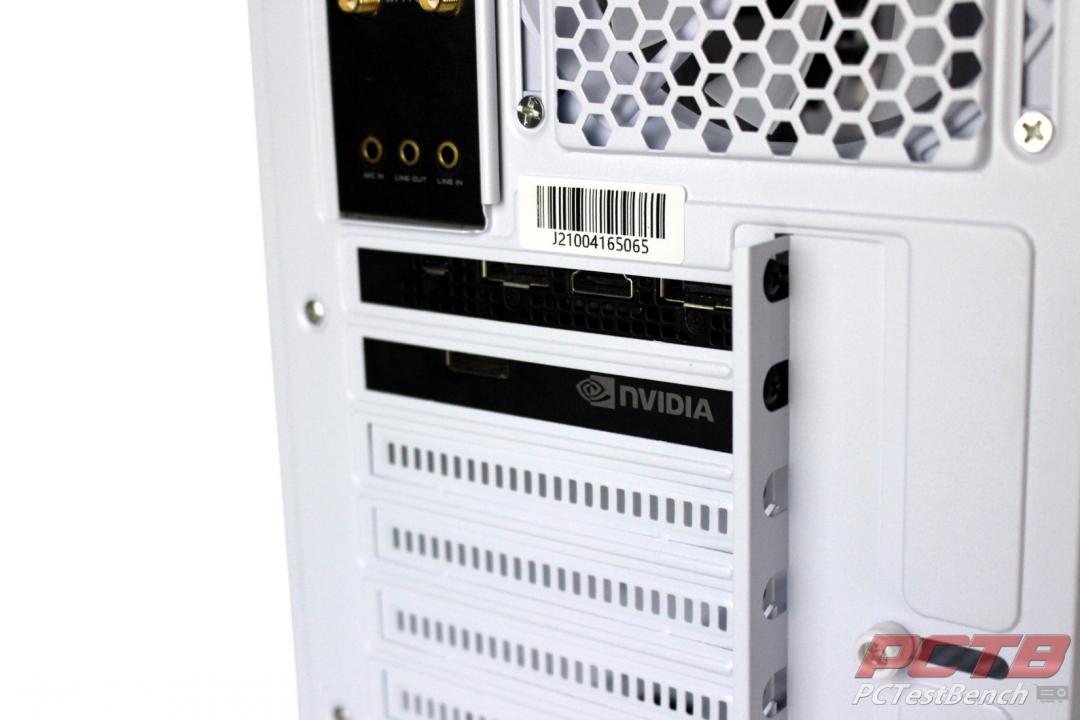
With most of the cables installed, now we can go ahead and install the GPU as well.
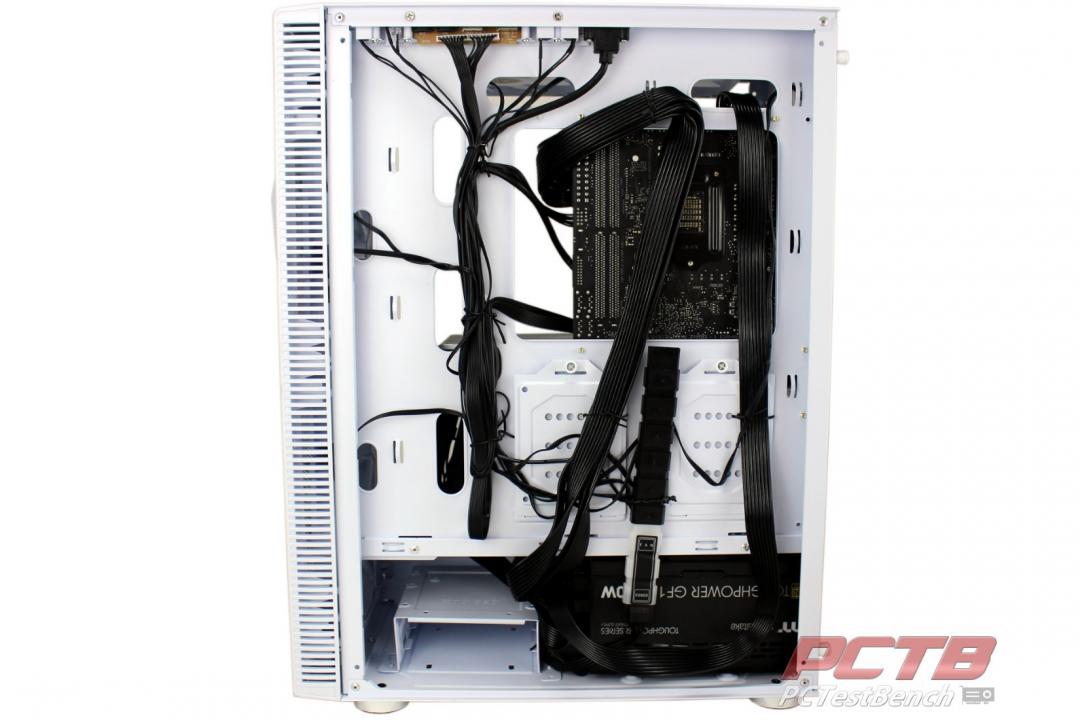
We connected the pair of PCIe power cables as well and ran them up to the GPU. Many of the cables came with twist-ties holding them in place, so we reused many of them to tidy up all the wiring we ran.
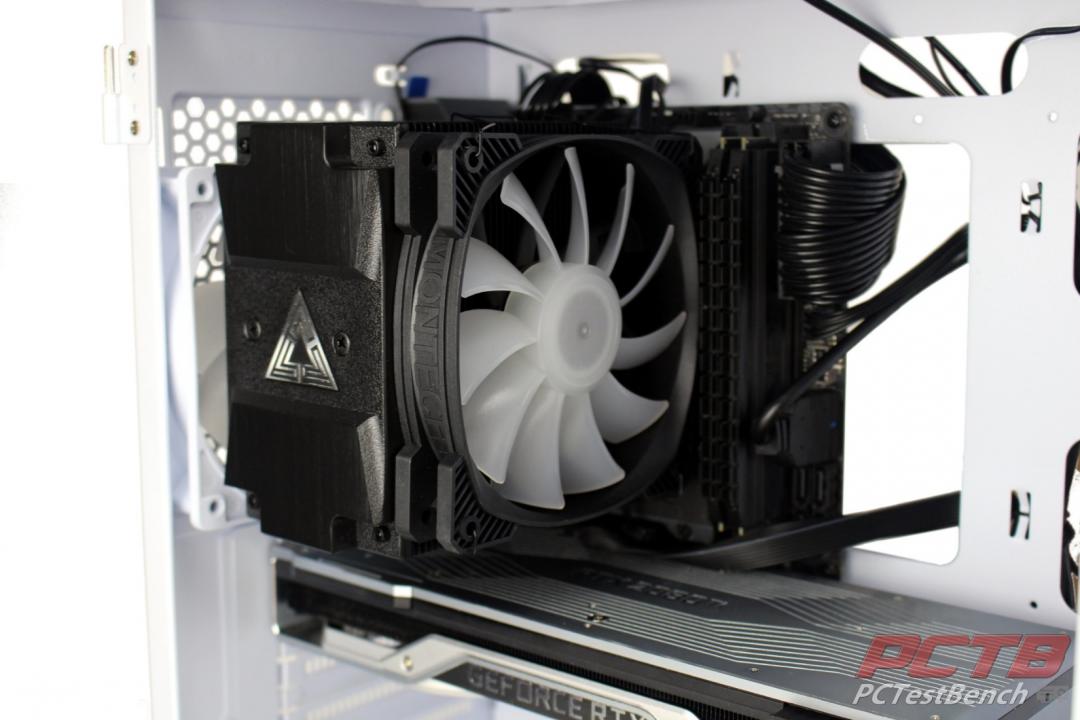
The only thing left was to install the CPU cooler, in this case, will are using Montech’s own Air Cooler 210 which is a snap to install.
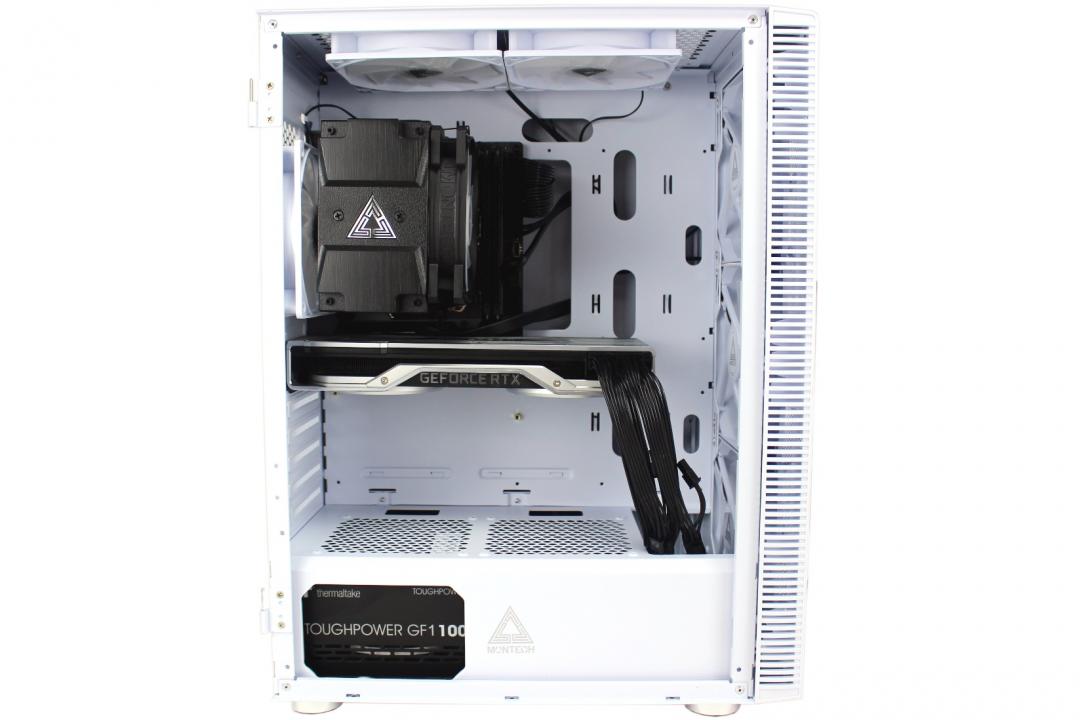
And, that’s really about it. This is a very simple build in an easy-to-build case. It probably took us about 10 minutes to assemble the computer, and most of that was straightening up the wiring.
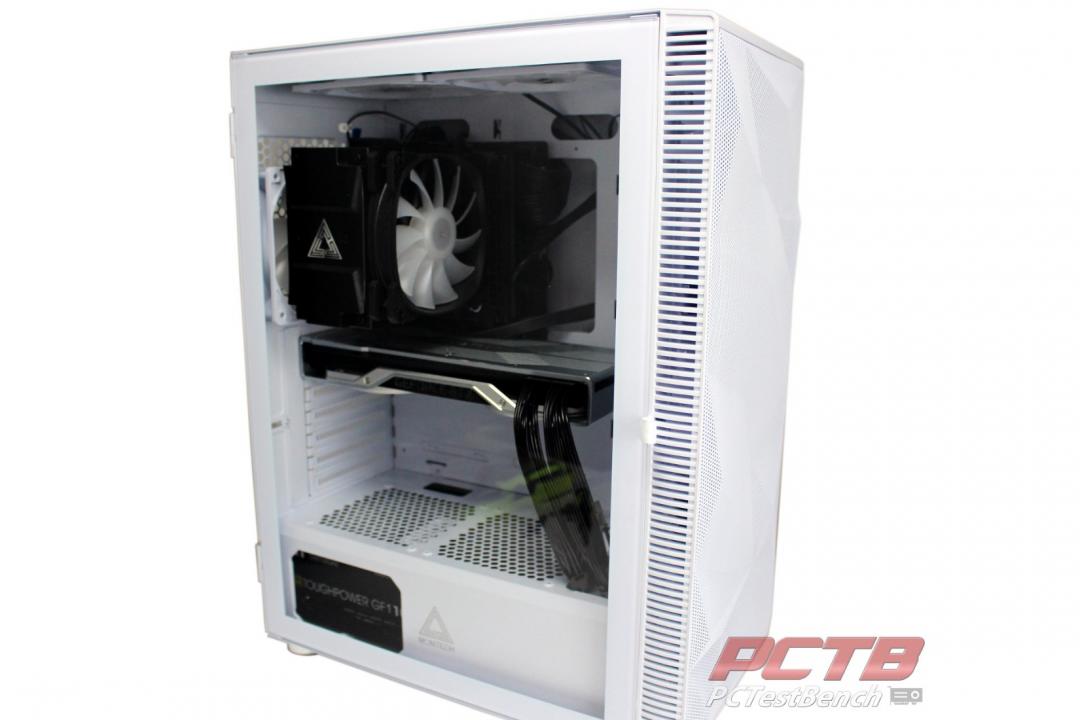
With the side door installed, we are ready to power it up and enjoy!
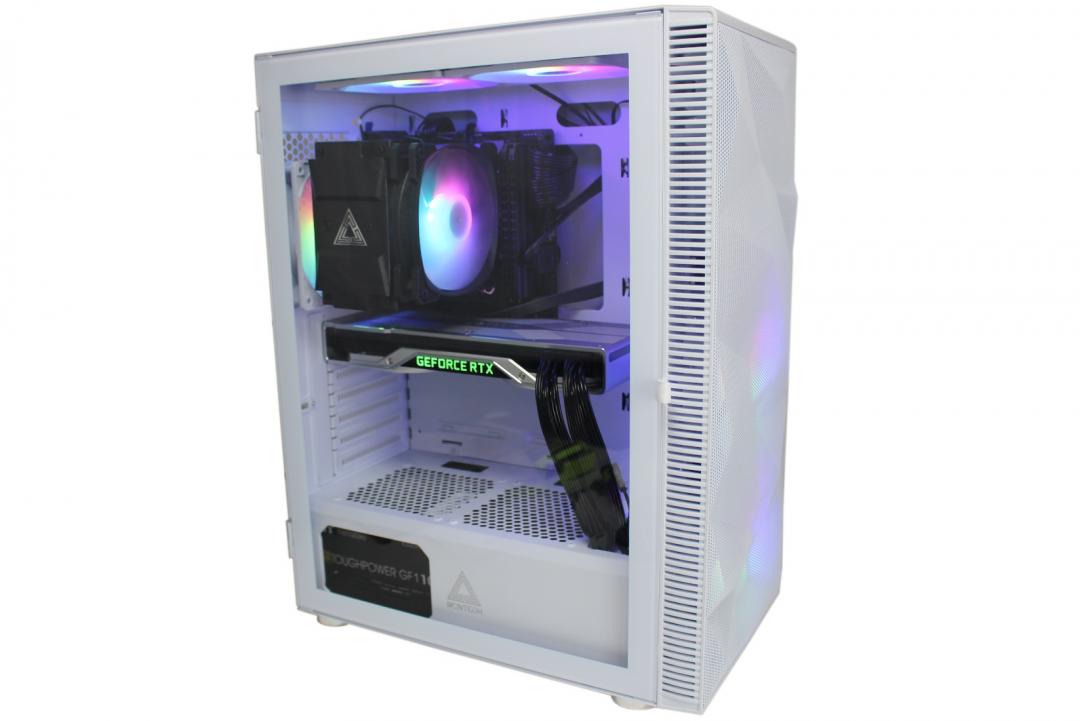
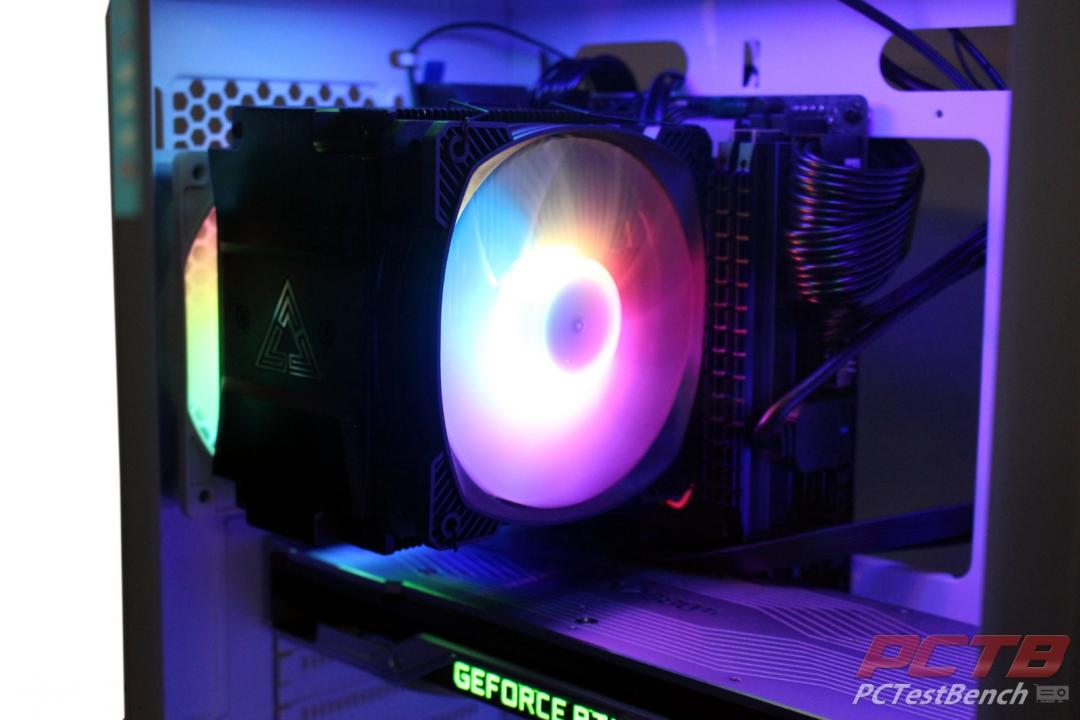
It’s always a good feeling when you hit the power button and it springs to life! With all of the LED fans, it makes a rather colorful build.
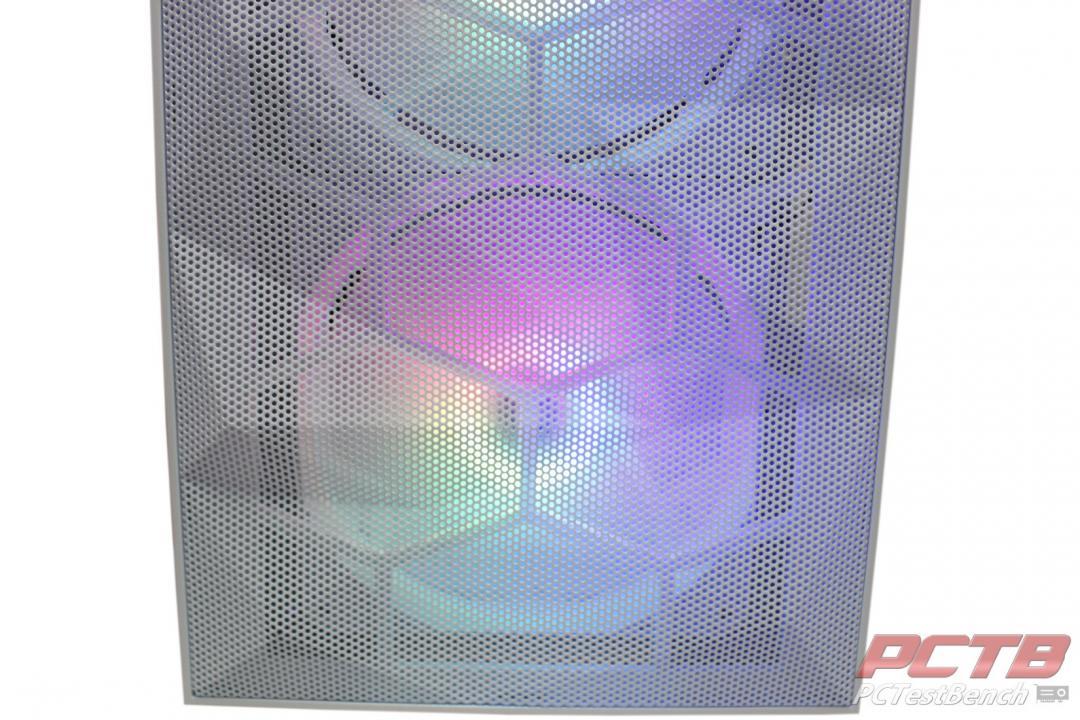
The case fans all light up statically like this. You get a rainbow of colors, but it doesn’t change, it can only be turned on or off from the top of the case.
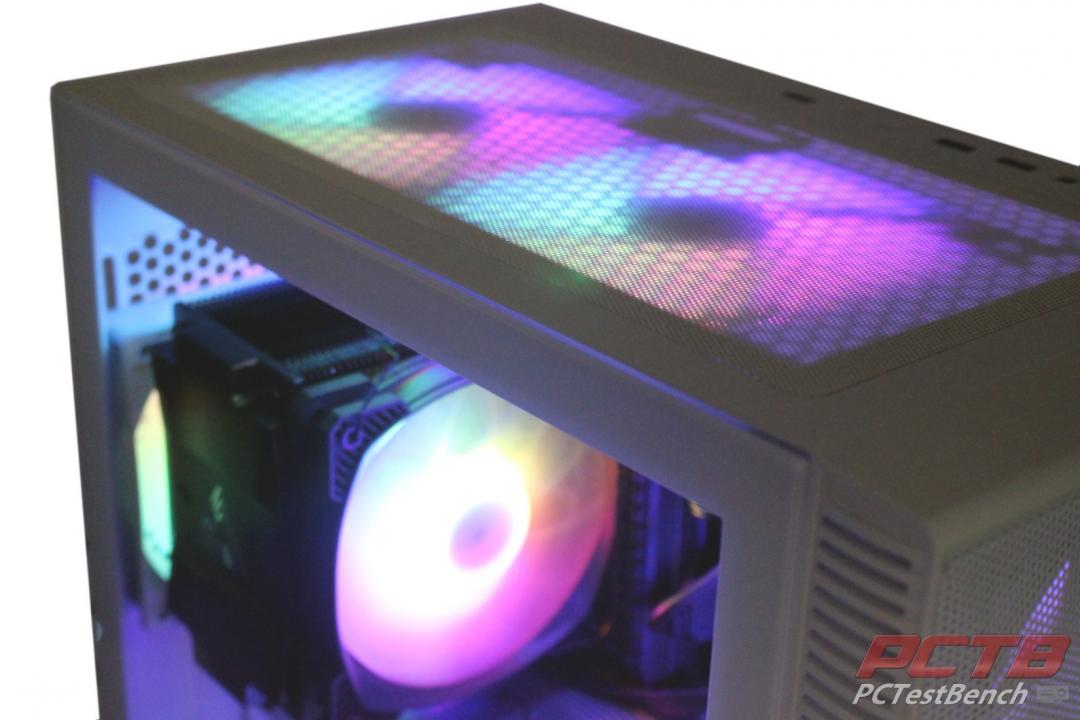
With the photography lights turned off, you get strong, vivid colors and the case looks great!
Final Thoughts & Conclusion
Montech’s X3 Mesh is a great choice for many builders and a killer choice for anyone on a sensible budget. The street price would lead you to believe you aren’t getting anything nice, but that is quite far from the truth. We only did one build, but the options inside make the X3 Mesh a powerhouse for most. You can install large liquid coolers in the ceiling and front of the case, you can even take the drive mounts out of the basement and stuff a 360mm cooler in the front. We really loved the glass door and the magnetic closure and hinge system it uses.
The included fans move a decent amount of airflow and with 6 of them, you get cool temps in your case without trying. They are set up balanced with 3 blowing in (at the front) and 3 exhausting air at the top and rear. They also run quietly which is important since you can’t control their speed. We can see some users replacing them down the road, but at least you don’t have to at the start, and when building a machine, not having to spend an extra few hundred bucks on fans to get up and going is something to be thankful for. Our only real complaint is the twist-out slot covers for Rear I/O but it’s minor.